
Introduction to DIY Auto Body Repairs
Recommended: fix small dents at home
Handpicked Amazon products relevant to this guide. Prices vary, links go to current Amazon listings.
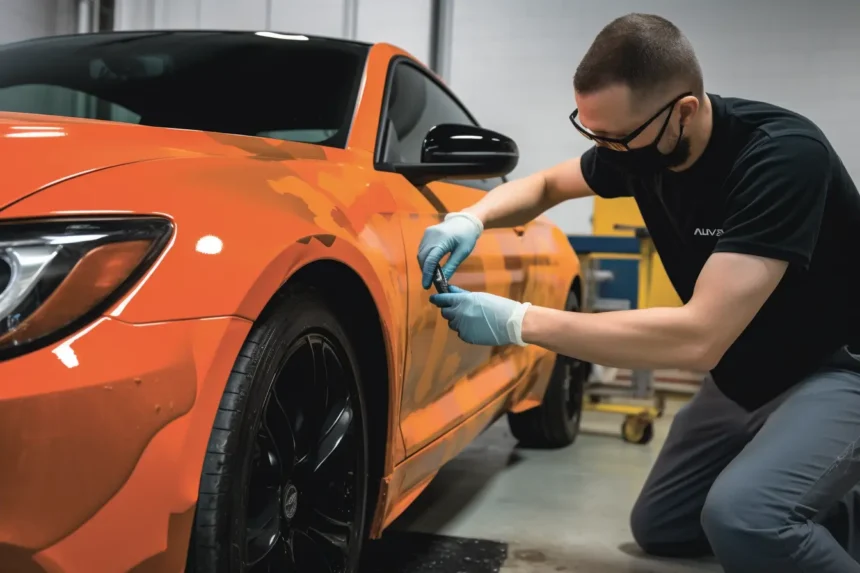
Vehicles are an essential part of our daily lives, providing us with convenience and mobility. However, accidents happen, and sometimes our prized possessions can suffer from unsightly dings, scratches, or dents. While professional auto body repairs can be costly, DIY auto body repairs have gained popularity among car enthusiasts and those looking to save money. If you’re willing to put in the time and effort, this guide will provide you with the necessary information to tackle common auto body issues and restore your vehicle’s aesthetics.
Before diving into the world of DIY auto body repairs, it’s crucial to understand that not all damage can be fixed at home. Major accidents, structural damage, or complex repairs should always be handled by a professional. However, for minor cosmetic issues such as small dings and scratches, DIY repairs can be a viable and cost-effective option.
One of the first steps in your journey to DIY auto body repairs is to familiarize yourself with the common types of dings and scratches that can occur on vehicles. Dings are small indentations caused by impacts such as errant shopping carts or car doors hitting your vehicle. Scratches, on the other hand, are visible marks on the surface of the paint caused by various factors like keys, tree branches, or even accidents. Understanding these common issues will help you determine the appropriate repair techniques and materials required.
Assessing the severity of the damage is another vital aspect of successful DIY auto body repairs. While some dings and scratches are minor and can be easily fixed, others may require more extensive work. It’s important to evaluate the depth and size of the damage to determine if it can be effectively repaired at home. For example, shallow scratches that haven’t penetrated the clear coat can often be buffed out, while larger dents may require more advanced techniques. By accurately assessing the severity of the damage, you can decide if DIY repairs are suitable or if professional assistance is necessary.
Understanding the Common Types of Dings and Scratches
When it comes to automotive repairs, dings and scratches are some of the most common issues that vehicle owners encounter. While they may seem minor in comparison to major accidents or mechanical problems, they can still be unsightly and decrease the value and appearance of your vehicle. Understanding the different types of dings and scratches is essential in determining the appropriate repair method and ensuring a seamless finish.
One type of ding that many car owners face is known as a “door ding.” This occurs when another vehicle’s door accidentally hits your car, leaving a small dent or indentation. Door dings are often found on the side panels of your vehicle and can range in severity from minor dents to more noticeable depressions. Another common type of ding is the “shopping cart ding,” which happens when a shopping cart collides with your vehicle. These dings are usually smaller in size but can still leave visible marks on your car’s surface.
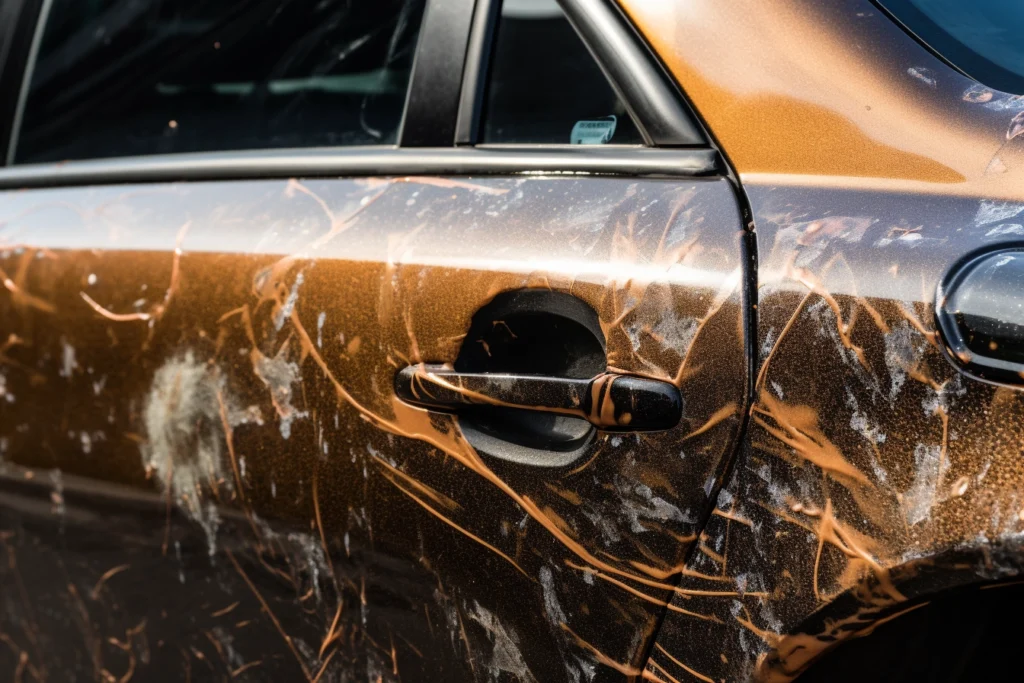
Scratches, on the other hand, can vary in depth and severity. A “surface scratch” is a shallow mark that only affects the clear coat layer of your vehicle’s paint. These scratches can usually be buffed out with some polishing compound and a little bit of elbow grease. Deeper scratches, known as “primer scratches,” penetrate the clear coat layer and often reach the base primer or even the metal surface. These types of scratches typically require more extensive repair techniques, such as touch-up paint or filling and sanding.
Determining the severity of the damage is crucial in deciding whether the repair can be done at home or requires professional assistance. In the case of small dings and surface scratches, DIY repairs are often possible and can save both time and money. However, for more significant dents and deep scratches, it may be best to consult a professional auto body repair shop to ensure proper restoration of your vehicle’s exterior. By understanding the common types of dings and scratches and assessing the severity of the damage, you can make an informed decision on the appropriate repair approach for your vehicle.
Assessing the Severity of the Damage
Assessing the Severity of the Damage
When it comes to DIY auto body repairs, one of the first steps you need to take is assessing the severity of the damage. Before you pick up your tools or start any repair work, it’s crucial to have a clear understanding of the extent of the damage. This will help you determine the appropriate repair techniques and materials needed to fix the problem effectively.
Begin by thoroughly examining the area affected by the damage. Whether it’s a ding, scratch, dent, or a combination of these, take the time to carefully assess the condition of your vehicle’s body. Look for any signs of paint chipping, cracked or broken parts, or deep creases. This initial assessment will help you determine whether the damage can be repaired through DIY methods or if it requires professional intervention.
Next, consider the size of the damage. Small dings and minor scratches are relatively easy to fix with the right tools and materials. These types of damages are typically shallow in depth and do not extend beyond the clear coat or paint layer. Despite their small size, it’s essential to address them promptly to prevent further deterioration and potential rusting.
On the other hand, medium-sized dents and scratches may require more extensive repairs. These damages can often be deep enough to affect the underlying metal or body panels. While they may seem daunting, with the proper techniques and patience, you can still achieve satisfactory results with DIY methods. However, it’s important to be realistic about your abilities and consider seeking professional assistance if the damage is beyond your skill level.
Finally, evaluate the overall impact of the damage on your vehicle’s appearance. Does the damage blend well with the existing paintwork, or is it highly noticeable and disruptive to the overall aesthetic? Blending the paint to achieve a seamless finish can be a challenging task, especially for larger repairs. If you’re unsure of your ability to blend the paint effectively, it’s advisable to consult a professional. They have the expertise and specialized equipment to match the paint color and achieve a flawless finish.
In conclusion, assessing the severity of the damage is a crucial step before embarking on any DIY auto body repairs. By carefully examining the extent of the damage, considering its size, and evaluating its impact on your vehicle’s appearance, you can make an informed decision on whether to proceed with DIY repairs or seek professional help. Remember, it’s always better to err on the side of caution and seek assistance when necessary to ensure the best possible outcome for your vehicle. Essential Tools and Materials for DIY Auto Body Repairs
When it comes to DIY auto body repairs, having the right tools and materials is essential. Without them, it can be challenging to achieve professional-looking results. Whether you’re fixing a small ding or tackling a medium-sized scratch, investing in the proper equipment is crucial for a successful repair.
One of the most fundamental tools you’ll need is a quality sanding block. This will help you smooth out any rough edges or imperfections in the damaged area. Look for a sanding block that is comfortable to hold and has varying grit options to address different levels of damage. Additionally, it’s vital to have a set of high-quality sandpaper sheets in different grits, such as 120, 320, and 600. These will allow you to tackle both coarse and finer sanding tasks.
In addition to sanding tools, you’ll also need a reliable set of body filler tools. Body filler, also known as Bondo, is used to fill in dents and dings before painting. You’ll want to invest in a spreader, which will help you apply an even layer of filler to the damaged area. A mixing board and a putty knife are also essential for preparing and applying the body filler. Remember to follow the manufacturer’s instructions when mixing the filler to achieve the desired consistency.
Another crucial tool for DIY auto body repairs is a quality paint sprayer. While you can opt for a brush or roller, spraying the paint will give you a more even and professional finish. Look for a paint sprayer specifically designed for automotive applications, as they are designed to provide a smooth and consistent coat of paint. It’s also important to invest in a good quality primer and paint that matches your vehicle’s color.
When it comes to materials, having the right type of sandpaper and body filler is essential. For sanding, opt for wet or dry sandpaper, which can be used with or without water. These types of sandpaper are durable and can withstand the moisture associated with automotive repairs. As for body filler, choose a high-quality product that is easy to work with and has a quick drying time. It’s also a good idea to have masking tape and plastic sheeting on hand to protect the surrounding areas from overspray and debris during the painting process.
Remember, having the right tools and materials is only part of the equation. It’s also important to have the knowledge and skills necessary for DIY auto body repairs. If you’re unsure about any step in the repair process, it’s always best to seek professional advice or assistance. By using the right tools and materials, combined with the proper techniques, you can achieve professional-looking results and save money on expensive body shop repairs.
Step-by-Step Guide to Fixing Small Dings
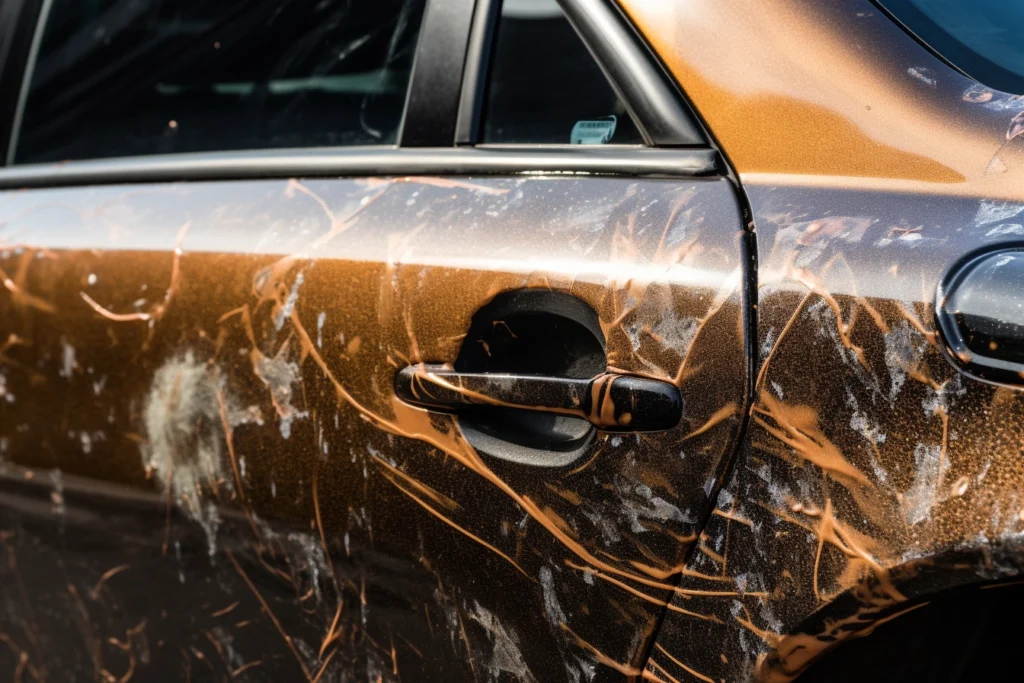
Fixing small dings on your vehicle can be a straightforward process if you have the right tools and follow the proper steps. Whether it’s a minor dent from a parking lot mishap or a small blemish caused by debris on the road, repairing these small dings can help restore your vehicle’s appearance and prevent further damage. In this step-by-step guide, we will walk you through the process of fixing small dings on your vehicle.
First, start by assessing the size and depth of the ding. If the ding is shallow and has not caused any paint damage, you may be able to fix it using a simple technique known as “paintless dent repair” or PDR. This method involves using specialized tools to massage the dent out from the backside of the panel, without disturbing the paint. However, if the ding has caused any paint damage or if it is a larger dent, you may need to use additional techniques and materials to fix it.
To begin the repair process, gather the necessary tools and materials. You will need a dent removal tool, such as a suction cup or a dent puller, to help manipulate and reshape the metal. Additionally, you will need sandpaper of various grits, a body filler, a putty knife, and a paint matching kit that includes the base coat and clear coat. Optional tools include a heat gun or a hairdryer, which can be useful for heating and manipulating the metal during the repair process. Make sure to wear safety goggles and gloves to protect yourself during the repair process.
Now that you have gathered the tools and materials, it’s time to start the repair process. Begin by cleaning the area around the dent to remove any dirt or debris that may interfere with the repair. Next, use the appropriate grit sandpaper to sand down the dent and the surrounding area. This will help create a smooth surface for the body filler to adhere to. Be sure to feather the edges of the sanded area to blend it seamlessly with the rest of the panel.
Once the area is sanded and clean, it’s time to apply the body filler. Mix the body filler according to the manufacturer’s instructions and apply it to the sanded area using a putty knife. Make sure to spread the filler evenly and smoothly, feathering the edges again to create a seamless transition from the repaired area to the rest of the panel. Allow the body filler to dry completely before proceeding to the next step.
After the body filler has dried, use sandpaper to smooth out any rough spots or imperfections in the repaired area. Start with a coarse grit sandpaper, then gradually move to finer grits to achieve a smooth finish. Take your time during this step to ensure a high-quality result. Once the repaired area is smooth, clean it again to remove any dust or debris.
Now comes the crucial step of matching the paint color. Using a paint matching kit, carefully mix the base coat to match the color of your vehicle. Apply the base coat to the repaired area, following the manufacturer’s instructions. Allow the base coat to dry, then apply the clear coat to protect the paint and give it a glossy finish. Finally, buff the repaired area to blend it seamlessly with the rest of the panel.
Repairing small dings on your vehicle can be a rewarding DIY project that restores its appearance and prevents further damage. By following these step-by-step instructions and using the right tools and materials, you can achieve professional-looking results. Remember to take your time, follow safety precautions, and seek professional help if needed.
Repairing Minor Scratches on Your Vehicle
Repairing Minor Scratches on Your Vehicle
When it comes to maintaining the pristine appearance of your vehicle, even minor scratches can be an eyesore. Thankfully, repairing these blemishes doesn’t always require a trip to the auto body shop. With the right tools, materials, and a little bit of patience, you can tackle minor scratches in the comfort of your own garage. In this section, we will walk you through the step-by-step process of repairing minor scratches on your vehicle, helping you restore its flawless finish.
1. Assess the depth of the scratch:
Before diving into the repair process, it’s important to assess the severity of the scratch. Minor scratches typically only affect the outer clear coat layer of the paint, making them much easier to fix. In order to determine the depth of the scratch, run your finger across the affected area. If your fingernail catches on the scratch, it is considered a deeper scratch and may require professional attention. However, for minor scratches, you can proceed with the DIY repair process.
2. Gather the necessary tools and materials:
To effectively repair minor scratches, you will need a few essential tools and materials. Start by assembling a microfiber cloth, a mild car soap, a bucket of water, automotive sandpaper (2000-grit), rubbing compound, and automotive polishing compound. Additionally, you will need a touch-up paint pen that matches the color of your vehicle. These touch-up paint pens can be purchased from automotive supply stores or obtained from your vehicle manufacturer directly.
3. Clean the scratch and surrounding area:
Begin by thoroughly cleaning the scratch and the surrounding area of your vehicle. Mix the mild car soap with water in a bucket and soak the microfiber cloth in the soapy solution. Gently wipe the scratched area, removing any dirt, debris, or wax buildup. Be sure to rinse the cloth regularly and avoid applying excessive pressure, as this may cause further damage to the paint surface.
4. Sand the scratch:
Once the area is clean, it’s time to carefully sand the scratch. Wrap the 2000-grit automotive sandpaper around a small sanding block and dip it in clean water. Begin sanding the scratch in a back-and-forth motion, applying gentle pressure. This step helps level the scratch and smooth out any rough edges. Remember to keep the sandpaper and the scratched area wet to prevent heat buildup and further damage to the paint.
5. Apply the touch-up paint:
After sanding, it’s time to apply the touch-up paint. Shake the touch-up paint pen vigorously to ensure proper mixing. Then, carefully apply the paint onto the scratch, using steady and even strokes. Fill the scratch with an adequate amount of paint without applying excessive pressure. Allow the paint to dry completely according to the manufacturer’s instructions. This typically takes several hours.
6. Smooth and blend the paint:
Once the touch-up paint has dried, it’s time to smooth and blend it with the existing paint. Start by applying a small amount of rubbing compound onto a clean microfiber cloth. Gently buff the repaired area in circular motions, gradually extending the buffed area beyond the repaired scratch. This helps blend the touch-up paint with the surrounding paint, achieving a seamless finish. Finally, apply a small amount of automotive polishing compound to bring back the shine and luster of the repaired area.
Repairing minor scratches on your vehicle is a task that can be accomplished with the right tools, materials, and a little bit of elbow grease. By following these steps, you can restore the appearance of your vehicle and keep it looking its best. However, it’s important to note that deep scratches or extensive damage may require professional intervention. In the next section, we will explore tackling medium-sized dents and scratches, providing you with the knowledge to assess and address more challenging repairs.
Tackling Medium-Sized Dents and Scratches
Medium-sized dents and scratches can be quite daunting to tackle, but with the right tools and techniques, you can achieve a satisfactory repair job. Before you begin, it’s important to assess the severity of the damage to determine the best course of action.
Start by thoroughly inspecting the dent or scratch. If the damage has only affected the topmost layer of paint, you may be able to fix it using touch-up paint or a scratch repair pen. These products are readily available at automotive supply stores and come in a variety of colors to match your vehicle’s paint. Clean the affected area thoroughly before applying the touch-up paint, and be sure to follow the manufacturer’s instructions for the best results.
For deeper scratches that have reached the primer or metal surface, a more extensive repair process is needed. Begin by cleaning the area around the scratch with a mild detergent and water. Use a soft cloth or sponge to gently scrub away any dirt or debris. Once the area is clean and dry, apply a small amount of automotive rubbing compound to a clean cloth and gently buff the scratch in circular motions. This will help to smooth out the rough edges of the scratch and blend it with the surrounding paint.
Next, you’ll want to use a fine-grit sandpaper, around 1000-2000 grit, to further smooth out the scratch. Wet the sandpaper with water and gently sand the scratch until it feels smooth to the touch. Be careful not to apply too much pressure, as this can damage the surrounding paint. After sanding, rinse the area with clean water and dry it thoroughly.
Once the scratched area is smooth and clean, it’s time to apply a primer. Choose a high-quality automotive primer that is specifically designed for use on metal surfaces. Shake the can well and hold it about six to eight inches from the damaged area. Apply a thin, even coat of primer, making sure to overlap the edges of the scratch. Allow the primer to dry completely, following the manufacturer’s instructions.
After the primer has dried, it’s time to apply the base coat of paint. You’ll want to choose a paint that matches your vehicle’s original color. Shake the paint can well and apply several thin coats, allowing each coat to dry before applying the next. This will help to build up an even, seamless finish. Be sure to follow the manufacturer’s instructions for drying time and application technique.
Once the base coat has dried, it’s time to apply the final clear coat. This will help to protect the repair job and give it a glossy finish. Shake the clear coat can well and apply several thin coats, allowing each coat to dry before applying the next. Again, follow the manufacturer’s instructions for drying time and application technique.
After the clear coat has dried, use a polishing compound and a soft cloth to gently buff the repaired area. This will help to blend the new paint with the surrounding area and give it a smooth, professional finish. Take your time and be careful not to apply too much pressure, as this can dull the clear coat.
Tackling medium-sized dents and scratches may require a little more time and effort, but with the right tools and techniques, you can achieve a great result. Remember to take your time, follow the instructions carefully, and don’t be afraid to seek professional help if you’re unsure. With a little patience and determination, your vehicle can look as good as new again.
Tips for Blending the Paint to Achieve a Seamless Finish
Blending the paint to achieve a seamless finish is an essential step in DIY auto body repairs. It is the final touch that brings everything together and gives your vehicle a professional look. Whether you are fixing small dings or tackling medium-sized dents and scratches, proper blending of the paint is crucial to ensure that the repaired area seamlessly matches the rest of the vehicle.
To achieve a seamless finish, start by preparing the surface properly. Smooth out any rough edges or imperfections using sandpaper. This step will help create a smooth surface for the paint to adhere to and ensure a seamless blend. Additionally, make sure to clean the area thoroughly and remove any dirt, debris, or wax residue. A clean surface will allow the paint to bond better and provide a flawless finish.
Next, choose the right paint color and type. It is important to match the color as closely as possible to the existing paint on your vehicle. Consider consulting the manufacturer’s paint code or seeking professional advice to ensure an accurate color match. Additionally, pick the appropriate type of paint for the specific area you are repairing. For small dings and scratches, touch-up paint or aerosol paint can be used, while for larger areas, spray paint may be necessary.
When applying the paint, start with a light coat and gradually build up the layers. This will help achieve a smooth and even application. Use smooth and controlled strokes to minimize paint lines or streaks. Allow each coat to dry completely before applying the next one. This will ensure that the paint cures properly and prevents any issues with the blending process.
To blend the paint seamlessly, it is important to feather the edges. This technique involves gradually fading the new paint into the surrounding area. To do this, use a fine-grit sandpaper or a blending pad to gently sand the area around the repaired section. Start from the repaired area and slowly work your way out, feathering the paint as you go. This will create a smooth transition between the old and new paint and eliminate any noticeable lines or color variations.
After feathering the edges, it is time to apply a clear coat. The clear coat not only enhances the appearance of the paint but also provides protection against the elements. It adds a glossy finish to the repaired area and seamlessly blends it with the rest of the vehicle. Apply the clear coat following the same technique used for applying the paint, with light and even coats. Allow the clear coat to dry completely, and then you can polish it to further enhance the shine and smoothness.
In conclusion, blending the paint to achieve a seamless finish is a critical step in DIY auto body repairs. It requires careful preparation, proper color matching, and skillful application techniques. By following these tips, you can ensure that your repaired areas blend flawlessly and give your vehicle a professional look. Remember, take your time, be patient, and practice on smaller areas before tackling larger repairs. With practice and attention to detail, you can achieve a seamless finish that will make your vehicle look as good as new.
FAQs
What are some tips for blending paint to achieve a seamless finish?
Blending paint to achieve a seamless finish can be a tricky task, but with the right techniques, it can be done effectively. Here are some tips to help you achieve a professional-looking result:
How important is it to blend paint when repairing auto body damage?
Blending paint is crucial when repairing auto body damage because it ensures that the repaired area seamlessly matches the surrounding paintwork. Without proper blending, the repaired area will be noticeable and can affect the overall appearance of your vehicle.
What tools or equipment do I need to blend paint effectively?
To blend paint effectively, you will need the following tools and materials:
– Automotive paint matching the color of your vehicle
– A paint sprayer or airbrush
– Sandpaper of various grits
– A clean, lint-free cloth
– Masking tape
– Finishing compound or rubbing compound
– Polish and wax for final touch-ups
What is the process for blending paint to achieve a seamless finish?
The process for blending paint to achieve a seamless finish typically involves the following steps:
1. Prepare the damaged area by cleaning and sanding it.
2. Apply primer and basecoat to the repaired area, ensuring a smooth and even application.
3. Feather the edges of the repair using sandpaper to create a seamless transition.
4. Apply several thin coats of paint, allowing each coat to dry before applying the next.
5. Blend the new paint with the surrounding area by lightly spraying overlapping coats of paint.
6. Allow the blended paint to dry completely.
7. Use finishing compound or rubbing compound to polish the repaired area.
8. Apply a final coat of polish and wax to protect and enhance the finish.
Can blending paint be done without professional experience?
Blending paint can be challenging without professional experience, but it is possible to achieve satisfactory results with proper research, practice, and attention to detail. However, for more complex repairs or for a flawless finish, it is recommended to seek professional assistance.
What should I do if I’m unable to achieve a seamless finish when blending paint?
If you’re unable to achieve a seamless finish when blending paint, it may be best to consult a professional auto body repair technician. They have the expertise and specialized equipment to properly blend paint and ensure a high-quality result.