
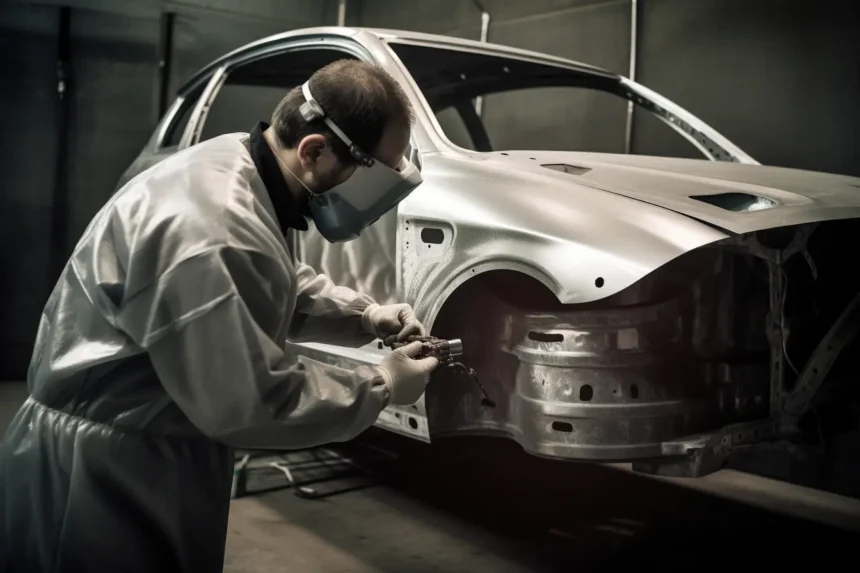
Updated April 2026. Practical guide to choosing a welder for DIY auto body work and farm/equipment repair. What sizing actually matters, which brands hold up, and the specific models worth buying at each budget level. As an Amazon Associate we earn from qualifying purchases.
Choosing the right welder is the single biggest capital decision in a DIY body/farm workshop. Get it right, and you’ll use the same welder for 15+ years across dozens of projects. Get it wrong, and either the welder can’t handle the work you’ll want to do (undersized), or you’ll spend twice what you needed on capacity you’ll never use (oversized).
The Two Buyer Personas
Most DIYers fall into one of two camps, and the right welder is different for each:
Person A: DIY auto body
Primary work: patch panels, floor pans, quarter panel sections, exhaust, rust repair, occasional cosmetic frame work. Sheet metal is 18-24 gauge. Structural work is minimal.
Right welder: 140-210 amp MIG, ideally 220V, with infinite voltage control and 0.023-0.030″ wire capability.
Person B: Farm / equipment repair + occasional auto
Primary work: farm implements (trailers, fencing, gates), heavy equipment brackets, engine mounts, thicker structural steel. Material is often 1/8″ to 3/8″. Auto body work is secondary.
Right welder: 200-250 amp MIG or multi-process (MIG/stick/TIG), 220V required, with capacity for heavier wire (0.035-0.045″) and stick electrodes.
The Specifications That Actually Matter
Amperage output
The welder’s max amperage determines what thickness you can weld through. Rough guide:
- 140 amps: 24-gauge to 3/16″ (auto body sheet metal + light structural)
- 180-210 amps: 24-gauge to 1/4″ (all body work + moderate farm work)
- 250+ amps: 3/8″ to 1/2″ (heavy farm equipment, structural)
Duty cycle
Percentage of a 10-minute cycle the welder can run at rated amperage before overheating. A “180-amp welder with 30% duty cycle at 130A” means 3 minutes of continuous 130-amp welding per 10-minute period. Higher = better for long welds. Hobby welders often have 20-30% duty cycle; professional units run 60-100%.
Voltage input
110V: plugs into any household outlet. Amperage typically capped at 130-140A. Fine for sheet metal, marginal for structural.
220V: requires dedicated circuit (dryer outlet or hardwired). Delivers 180-250A+. Dramatically more capable for anything beyond sheet metal.
If your garage has 220V, use it. If it doesn’t, budget for the electrical work — a 30-amp 220V circuit installed by an electrician costs $300-$800.
Wire feed control
Tap-selection voltage control (2, 4, or 6 fixed positions): budget welders, hard to fine-tune for thin sheet metal.
Infinite voltage control (dial): fine adjustments possible. Standard on mid-tier and up. Non-negotiable for body work.
Process capability
MIG only: simplest, cheapest, covers 90% of DIY needs.
MIG + flux-core: most welders. Flux-core lets you weld outdoors without shielding gas.
Multi-process (MIG + stick + TIG): flexibility for varied work. Costs 30-60% more.
Specific Model Recommendations (2026)
Under $500 — starter tier
- Hobart Handler 140 — 110V, 140A, decent duty cycle, easy to learn. The classic budget pick for occasional auto body work.
- Forney 140 MP — multi-process at a low price. Compromises on duty cycle.
Browse the Hobart Handler 140 on Amazon
$500-$1,000 — the sweet spot for DIY auto body
- Hobart Handler 210MVP — dual-voltage (110V or 220V), 210A max, excellent duty cycle. The most-recommended DIY MIG for auto body work.
- Lincoln PowerMIG 180C — 220V only, 180A, better for slightly heavier structural work.
- Miller Multimatic 215 — multi-process (MIG/stick/TIG), 220V, cover any DIY project. Most expensive of this tier but the versatility justifies it for many buyers.
Browse the Hobart Handler 210MVP on Amazon
$1,000-$2,000 — pro-quality DIY / small shop
- Lincoln PowerMIG 210MP — multi-process, 220V, excellent duty cycle, professional-grade wire feed.
- Miller Multimatic 220 AC/DC — includes AC TIG for aluminum work. The reference machine for serious DIYers.
- ESAB Rebel EMP 215ic — multi-process with sMIG technology (self-adjusting). Great for beginners upgrading to pro.
Farm and heavy equipment tier
- Miller Multimatic 255 — 250A, 220V, multi-process, professional duty cycle.
- Lincoln 210 MP Farm-Duty — designed specifically for agricultural repair.
- Everlast PowerMIG 253DPi — value-tier professional MIG.
Accessories You’ll Need (Budget For)
- Auto-darkening welding helmet ($50-$200): variable shade 9-13. Browse helmets on Amazon.
- Shielding gas tank and regulator ($150-$300 for the tank, then $30-$60 per refill of 75/25 argon/CO2).
- Welding wire ($20-$60 per spool depending on size and material).
- Welding jacket and gloves ($60-$150).
- Angle grinder + cutoff wheels + flap discs ($100-$200).
- Welding table or magnetic clamps ($50-$500).
- Fire extinguisher ($30-$60) — always within arm’s reach.
Total accessory cost: $500-$1,500 on top of the welder itself. Plan for this.
Common Mistakes When Buying a Welder
- Buying the cheapest. A $200 welder cost less than a gas tank refill × 5 refills. Duty cycles too low for real work, voltage control too crude for sheet metal.
- Buying too big. A 300-amp industrial machine for occasional body work is overkill. Bigger doesn’t equal better for auto sheet metal — infinite voltage control matters more than raw amperage.
- Ignoring duty cycle. A 250A welder with 10% duty cycle actually welds less than a 180A machine with 40% duty cycle.
- Skipping the multi-process for versatility that never comes. Most DIYers who buy MIG/stick/TIG multi-process machines use the MIG 95% of the time. If budget is tight, get a great dedicated MIG instead.
- Buying a machine that only runs flux-core. Sheet metal work needs gas. If body work is on your list, insist on gas capability.
Where to Buy
- Amazon — competitive pricing, easy returns, extended warranties available.
- Welding supply stores (Praxair, Airgas, local independents) — expertise, in-person setup help, gas tank exchanges. Often price-match Amazon.
- Cyberweld, Baker’s Gas & Welding Supplies — online welding-specific retailers, sometimes better pricing than Amazon on Miller/Lincoln.
- Northern Tool — good for farm-oriented models.
- Facebook Marketplace / Craigslist — used welders can be great value, but inspect before buying. Ask to see it run.
FAQ
What size welder do I need for auto body work?
140A minimum, 180-210A for headroom. Infinite voltage control matters more than raw amperage for auto body sheet metal.
Can I use a 110V welder for auto body?
Yes for sheet metal (fenders, floor pans, quarter panels). Marginal for structural work. If you have a 220V option available, use it.
Is MIG or stick better for a beginner?
MIG. Easier to learn, cleaner welds, better for thin material. Stick is essential for outdoor and structural work but has a much steeper learning curve.
How long does a welder last?
A quality Miller, Lincoln, Hobart, or ESAB welder used occasionally in a home shop lasts 15-25 years. Budget brands are more variable. Consumables (tips, nozzles, liners) need routine replacement.
Do I need a dedicated electrical circuit?
110V welders can share a household 20A circuit. 220V welders need a dedicated 30-50A circuit. Get an electrician to install it if you don’t have one.
The Bottom Line
For DIY auto body work specifically, the Hobart Handler 210MVP is the widest-recommended welder in its class. If your budget allows and you want multi-process versatility, step up to the Miller Multimatic 215 or Lincoln PowerMIG 210MP. Skip anything under $400 — the compromise on voltage control and duty cycle makes them frustrating for real projects.
Once you have the welder, see our auto body welding guide for the practical how-to on your first project, and our rust repair guide for the most common welding-first repair.