
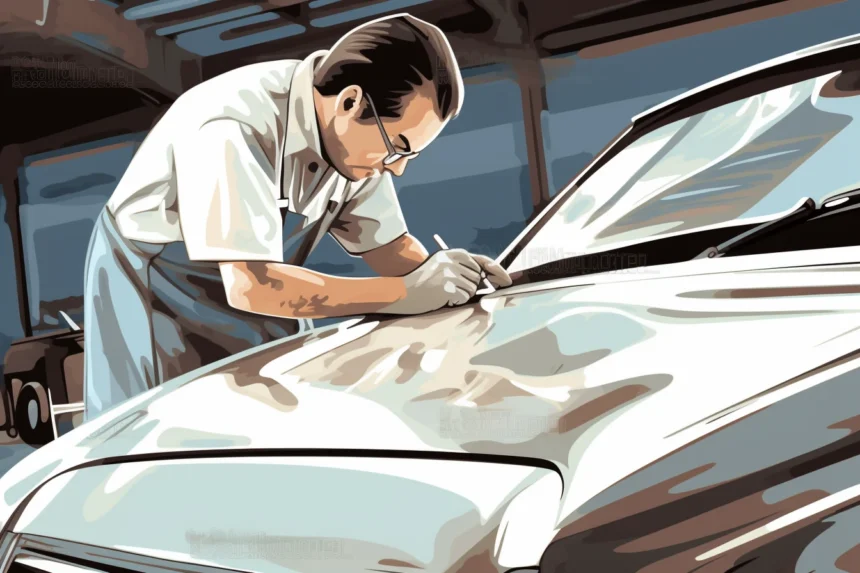

Fiberglass can be an extremely useful material for surface repairs. While steel requires special tools and expertise for repair, fiberglass repairs can often be completed by rank amateurs with common items.
Preparing the surface to receive resin for any fiberglass repair is essential to its success, including cleaning, sanding and deburring the area where resin will be applied.
Tools
Dependent upon the severity of your fiberglass repair, different tools will be necessary. For small cosmetic repairs such as dents, dings and scratches, do-it-yourself fiberglass repair kits provide resin and hardener to cover damaged areas; while cut fiberglass cloth can cover them up. Apply the fiberglass either using a brush or your finger.
Before beginning, it is crucial to protect the surrounding area with poly sheeting and masking tape, then clean the damage site to eliminate contamination and create a strong bond with epoxy resins. After cleaning your area, sand and grind it in order to provide an ideal surface for repair using 36-80 grit sandpaper to get rid of loose gel coat or fiberglass debris.
After you’ve sanded an area, it is vital that you vacuum or vaccum the surface of the damaged fiberglass. This will remove sanding dust and contaminants before wiping down with acetone to prepare the area for priming and painting while creating a strong bond with its fibers.
When it comes to structural repair, you must ensure that any damaged part is strong enough for its application. A quick test can help with this determination – if nails can easily pass through it then it may not be strong enough for use.
For structural repairs, it’s essential to follow the manufacturer’s instructions when mixing resin and hardener for structural repairs. This is particularly crucial if using a kit; typically epoxy should be mixed at 5:1 ratio or higher.
Once the resin and hardener have been mixed together, you can start applying it to the fiberglass repair. Make sure each ply of fiberglass cloth is soaked in epoxy before placing it on the repaired area; this process is called pre-wetting; pre-wetting allows epoxy to form a film across every surface of the cloth for maximum physical adhesion between resin and reinforcement fabric. In addition, use a flexible rubber squeegee to evenly spread out resin on every ply of fiberglass while simultaneously wiping away excess resin when applying.
Materials
Materials needed for fiberglass repair vary depending on the nature of damage being addressed. A fairing compound may suffice in case of minor cracks and scratches; for deeper voids and gouges however, resin fillers and resin injection are necessary.
Polyester resin is ideal for small repairs as it bonds well to existing fiberglass surfaces and is relatively cost effective, though shrinkage during cure reduces adhesion strength. However, for larger structural repairs vinyl ester resin offers superior adhesion strength while remaining shrinkage-resistant – an important feature when curing larger structures.
An outstanding polyester or vinyl ester resin is essential to the success of any fiberglass repair job, and should be mixed and applied according to manufacturer instructions. Furthermore, for optimal results it should be combined in an clean and dry container ensuring maximum working life for both parts.
Once the resin has been mixed, a cotton rag saturated with acetone should be used to wipe down the damaged area and remove any dirt or contamination from its surface. This process will also open up cracks for maximum resin penetration.
Once the acetone has set completely, lightly sand the surface with 80-grit sandpaper to roughen up old surface material and allow resin to better adhere to damaged areas. Sand both sides of your repair, not only the damaged side – this will help blend your repair in seamlessly with undamaged parts.
Once again, clean the surface using acetone before allowing it to dry fully before continuing with repair efforts.
As part of their initial patch application, patches should begin with a mixture of chopped strand mat and resin known as a scarf that fills low spots while leveling the interior surface to match that of its exterior surface. Once hardened, chopped strand mat should be sanded using 80-grit paper sandpaper in order to eliminate any high spots as well as prepare its surface for painting or staining.
Preparation
No matter if it’s an entire roof repair or just a minor scratch repair, certain points should always be kept in mind when dealing with composite materials such as fiberglass. As composites gain popularity and use is increasing rapidly, fiberglass repairs become an ever-increasing need. Although initially intimidating, with practice they become far easier than expected!
Before beginning repairs, ensure the area is free from moisture to avoid infiltrating into structures and causing further damage or even structural collapse. This will prevent additional problems like additional mold growth from invading them and further destabilizing structures.
In high stress environments, when carrying out structural repairs it may be necessary to cut access through the floor or interior wall in order to access composite material from within. Unfortunately, this is often impractical, forcing you to carry out repairs from outside instead. When this occurs it’s often beneficial to first scarf away old fiberglass in order to create space for new fiberglass in order to increase strength of repair.
Sand the repair area using 80 grit sandpaper to remove all primer, paint, rust or gel-coat. Make sure that you sand out 2-5cm beyond the damaged area to reveal bare fiberglass underneath.
Once the area has been cleaned, make sure that the resin and hardener included with your fiberglass repair kit are mixed to a “peanut butter” consistency before using a plastic applicator to apply this layer over the repaired area. Doing this correctly is key since air bubbles in resin may lead to defects and delamination in later steps of construction.
Once the peanut butter resin has been applied, chopped strand mat (CSM) or glass fibre matting must be cut to fit the repair area with an extra centimetre around its edge. Next, using a hand brush saturate the matting with mixed resin using dabbing motion until fully saturated before adding another layer over top using dabbing motion again.
Application
A fiberglass repair kit typically contains an assortment of materials, including chopped strand mat, polyester resin and various grits of sandpaper. Additionally, there may be brushes or spreaders for application as well as disposable gloves to aid with curing. Lastly, there will be a container to mix the resin ingredients along with hardener and catalyst to initiate cure.
Fiberglass repair kits are used for making structural repairs on surfaces prone to leakage or water ingress. In order to successfully execute such a repair, inspect, clean, and mark damaged areas using a different color before breaking away broken material from damaged laminate structures as much as possible – as solid laminate structures tend to be stronger.
Once all broken material has been removed from a surface, it should be sanded and primed before any construction can begin. Either directly on the damaged area, or separately and then transferred, a fiberglass patch should be built on either directly. Either way, an application of mixed epoxy should be made onto this repair area in order to fill cracks and voids while acting as a bonding agent between patch layers and subsequent fiberglass coats.
When applying fiberglass patch to damaged areas, each ply should be cut to size and adhered using mixed resin saturated in its entirety prior to being attached to it. Each subsequent ply should gradually decrease in size until a thick enough patch has been created for coverage of damaged area. It is important that each layer of fiberglass be saturated before being attached onto patch.
After each layer of fiberglass has been applied, a thin coat of the mixed epoxy should be brushed over it to seal and prevent it from drying too rapidly, creating an inferior finished product.
While working with fiberglass, it is essential to wear a mask or respirator. Grinding creates millions of near-microscopic glass particles which can lacerate lung sacs and cause Pulmonary Fibrosis – potentially life-altering condition that has an immediate impact.