
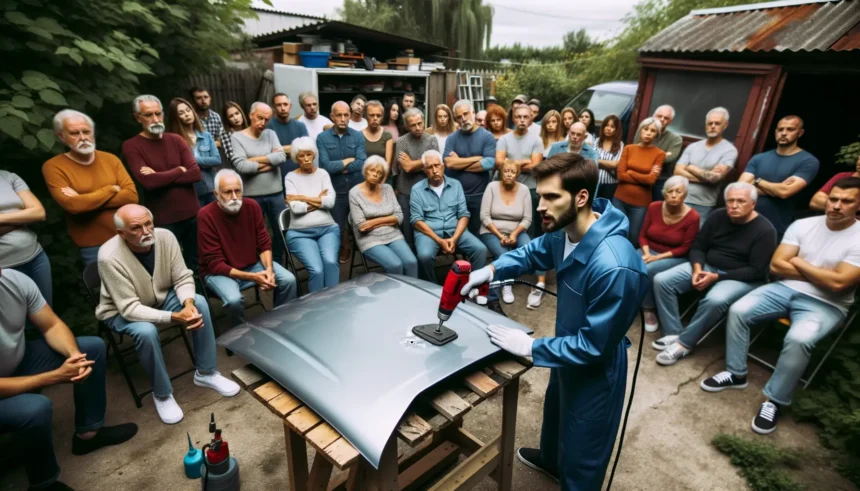
Car surfaces can sustain serious damage from road debris, shopping carts blowing into them or poorly hit baseballs – preparation of these damaged areas for fresh coats of paint is key for quality results.
An auto body sanding expert should aim for a perfectly flat finish on panels; otherwise, they can appear like fun house mirrors.

Choosing the Right Grits
Recommended: fix small dents at home
Handpicked Amazon products relevant to this guide. Prices vary, links go to current Amazon listings.
Selecting the ideal grit size can make or break a paint job, as sandpaper grit size depends on how abrasive its particles are for material removal from surfaces. Selecting an ideal grit can help ensure a seamless finish ready for clear coat.
Grit sizes for sandpaper range from 40 to 4000 or higher, with lower numbers representing coarser particles while higher ones indicate finer ones. When working on vehicles, it’s always wise to start off with the least aggressive grit possible that still meets your goal – any deep scratches left behind will be difficult or impossible to fix later.
If you’re using sandpaper to repair car rust and the original paint has chipped away, a low-grit paper like 40 or 80 grit is recommended to quickly and safely strip away caked-on or thick paint without harming underlying metal structures.
Once your car has been reduced to its bare metal surface, switch to higher-grit sandpaper such as 120 to 180 grit for fine-tuning, feathering edges of body filler and shaping body panels before applying a new coat of primer.
As the final step of car sanding before clear coat application, high-grit sandpaper (2000 or even higher) should be used for this step to remove any remaining abrasions and bumps from its surface sanding process, leaving behind only an even, polished look when your clear coat application begins.
Keep in mind that successful sanding requires patience and careful attention to detail, which means starting slow with lower grit sandpaper grit levels before increasing them progressively over time. As time progresses, you will become more comfortable with the task at hand and produce quality finishes you’re proud to display – or reach out for professional assistance! If in doubt of your abilities, professional assistance could also come in handy!

Using the Right Tools
Sanding is an integral step of body repair, helping smooth out rough surfaces, remove paint or rust and prep surfaces for painting or finishing. But done incorrectly it can leave an unsightly uneven finish unattractive to customers. Therefore using professional-quality tools and quality sandpaper are paramount to producing professional-looking finishes; especially important when dealing with auto body sanding as using inferior materials can result in uneven finishes that take more time to fix, and ultimately costing more in time and money in repairs over time.
Not only must you ensure your technicians use the appropriate grits for each situation, but you must also verify they’re using appropriate tools. This is essential both to employee safety and to the quality of work produced; using incorrect equipment could cause hazardous airborne dust that poses health hazards to both their lungs and nervous systems; additionally, manual tools make controlling pressure distribution across an entire vehicle difficult to do effectively.
Unsuitable sandpaper can do more than damage the painted surface; it can also ruin its aesthetics and ruin the vehicle for your customer. For instance, using too coarse of an abrasive may lead to undercutting, deep scratches in both paint and clearcoat and solvent soak reactions which cause “swirly” patterns on their paintwork surface.
Instead, opt for a flexible sanding block that can conform to the curvature of the body panel you’re working on and ensure you sand evenly, without risk of flat spots. National Autobody Wholesale offers an assortment of flexible sanding blocks designed to suit various sanders – so no matter your sanding needs you can find one perfect. These lightweight yet flexible blocks from National Autobody Wholesale come in various sizes and grit options suitable for body filler to high grit options for surface prepping before painting! National Autobody Wholesale stocks a wide variety of flexible sanding blocks made to meet individual sanding needs from body filler removal to high grit prepping of surfaces before painting takes place – perfect!
Preparing the Surface
Auto body sanding may be one of the key steps in any successful paint job, but other considerations must also be taken into account for a quality finish. Repairing after an accident, or simply resurfacing to eliminate scratches or imperfections requires thorough surface preparation if the painting project is to succeed.
Recent changes to surface prep have resulted in significant improvements, such as using fine or “painter’s” dual action sanders and dry guide coats. While these changes may not immediately become visible to technicians, they can significantly enhance shop efficiency while decreasing labor costs.
As with any physical task, when it comes to sanding it is imperative to wear a mask to protect both lungs and eyes from airborne dust containing toxic substances like chromium or lead that are hazardous for workers’ lungs and nervous systems. Wearing a properly ventilated mask and using ventilated tools will help minimize exposure.
Prior to beginning any sanding process, it is also recommended that a dry guide coat be applied as an aid in helping the process go more easily and preventing clogs of your sandpaper. A dry guide coat shows any pinholes or deep scratches present in body filler that needs sanding smooth with finer grits before applying primer.
Sandpaper with 40 or 60-grit is used to remove rough surfaces or rust, and prepare the body panel for repainting. Once this step is completed, blocking and sanding with an 80-grit disc may be used to shape body filler into place and form an seamless transition from original bare metal. A final fine-tuning step using 320 or 400-grit paper ensures that its final condition is ideal for painting.
Sanding can be an extremely time-consuming and laborious task, yet necessary in achieving a flawless surface finish. By taking advantage of various preparation techniques, this sanding process can be made quicker without compromising results.
Taking Your Time
When sanding a vehicle, it’s essential that you take your time and don’t rush the job. Overworking can lead to damage in terms of poor finish; keeping the sanding pad flat against the surface prevents uneven areas; make sure not to apply excessive pressure – excessive force could create holes on its surface that prevent paint adhesion, leaving an unsightly texture behind.
After sanding, it is also essential to take the time and care needed to properly clean and rinse the vehicle afterward, so as to eliminate any remaining dirt, dust or contaminants that could affect the final result. Rinsing with fresh water helps remove moisture that could otherwise wreak havoc with any applied primer causing bubbles or flaking effects.
As well as sanding the vehicle, auto body putty or filler may need to be used in areas of damage in order to make repairs. Once complete, any repaired areas should be resanded in order to blend seamlessly into their surroundings and prevent further blemishes from appearing on their surfaces.
Though it can seem tedious and time consuming, preparing the car’s surface for paint application is essential to producing professional looking results. By employing proper sanding techniques and tools you can ensure an even surface for paint to adhere to and ensure an impeccable application process.