
Updated April 2026. This guide covers five DIY dent-removal methods that actually work, when each one is appropriate, and the dents you should leave to a professional. As an Amazon Associate we earn from qualifying purchases — clearly marked links below.
Most car dents fall into one of two categories: ones you can pop, push, or pull out at home in under an hour, and ones that need a body shop and paintwork. Knowing which is which saves you hundreds of dollars and a lot of frustration. This guide gives you a quick decision tree, then walks through five proven DIY methods step-by-step.
Before You Start: Can This Dent Be Fixed at Home?
Run through these three quick checks before you order a tool kit:
- The fingernail test (paint integrity). Run a fingernail across the edge of the dent. If it catches in a paint crack or you see bare metal, you need bodywork and paint — DIY methods will only make it worse. If the paint is unbroken, you’re a candidate for one of the methods below.
- The dent shape. Round, soft dents are easy. Sharp creases, dents that follow a body line, or dents with multiple peaks need professional paintless dent repair (PDR) or panel work.
- The panel material. Steel panels are the most forgiving. Plastic bumpers respond well to heat methods. Aluminum panels (common on F-150s, many Audis, BMWs, and most modern hoods) are stiff and brittle — DIY rarely works without specialized tools.
If you pass all three, pick the method below that matches your dent.
Quick reference: which method for which dent?
- Shallow dent on a steel door or fender, paint intact → Suction cup puller (Method 1)
- Plastic bumper, soft dent, no creases → Boiling water (Method 2) or heat + compressed air (Method 4)
- Medium dent with no access from behind → Glue-pull kit (Method 3)
- Larger dent on metal, access from behind → Hammer & dolly + body filler (Method 5)
- Sharp crease, deep dent, body line damage, aluminum panel → Stop, call a pro
Method 1 — Suction Cup Dent Puller
Best for: Shallow, round dents on flat panels (door skins, fenders, hoods) with intact paint. Cheapest method to try first.
What you need:
- A purpose-built dent suction cup (don’t bother with a generic plunger — too weak). Browse suction dent pullers on Amazon — most cost $10–25.
- Warm soapy water
- A clean microfiber towel
Steps:
- Wash the dented area thoroughly. Any grit will scratch the paint when you press the cup down.
- Wet both the suction cup and the panel with warm soapy water — this helps the seal.
- Press the cup firmly to the center of the dent and engage the locking mechanism.
- Pull straight outward in one smooth motion. Don’t yank; smooth, steady force.
- Release and inspect. Most shallow dents pop in 1–3 attempts. If three pulls don’t move it, the dent is too deep for this method.
Realistic expectations: About a 50% success rate on dents under 4 inches in diameter with no creases. Costs you $15 and 20 minutes to find out.
Method 2 — Boiling Water (Plastic Bumpers Only)
Best for: Soft dents on plastic bumpers. This does not work on metal. The internet is full of videos claiming it does — they’re misleading. Steel panels won’t soften at boiling temperature.
What you need: A pot of boiling water and a pair of insulated work gloves.
Steps:
- Park out of direct sunlight. Hot panels affect the result.
- Slowly pour boiling water over the dented area. Coat the entire dent and a couple of inches around it.
- Working quickly while the plastic is warm and pliable, reach behind the bumper and push the dent outward with your hand. Most plastic bumpers have access from inside the wheel well or behind a clip-on cover.
- Immediately pour cold water over the area to set the plastic in its corrected position.
- Repeat once if the dent partially returns. After two cycles, if it hasn’t held, move to Method 3 or 4.
Safety: Wear gloves. Plastic stays hot longer than you’d think.
Method 3 — Hot Glue + Pull Tabs (the Glue-Pull Method)
Best for: Medium dents on any panel with intact paint, especially when there’s no access from behind (modern doors with sealed inner skins, quarter panels, roof). This is the technique most professional paintless dent repair (PDR) techs use.
What you need:
- A glue-pull dent repair kit. Browse glue-pull kits on Amazon — quality kits run $40–120 and include a glue gun, tabs in multiple sizes, a pulling bridge, and release agent (rubbing alcohol works as a substitute).
- Isopropyl alcohol for surface prep and glue release
- A clean microfiber towel
Steps:
- Clean the dent area with isopropyl alcohol. Let it flash off completely.
- Heat the glue gun to working temperature (most kits use yellow PDR-specific glue that runs around 380°F).
- Pick a tab roughly the size of the dent’s deepest area. Apply a generous dab of glue to the tab and press it firmly to the lowest point. Hold for 60 seconds, then leave it for 2–3 minutes to fully set.
- Position the pulling bridge over the tab, thread the release knob onto the tab’s stem, and turn slowly. The bridge legs anchor against the panel while the screw pulls the tab — and the dent — outward.
- You’ll hear a small pop as the dent moves. Don’t over-pull, or you’ll create a high spot. Aim for slightly under the surrounding surface; the panel will continue to relax slightly after release.
- Once the tab releases (or you tap it sideways with a plastic mallet to break the bond), apply isopropyl alcohol to dissolve any remaining glue. Wipe clean.
- For larger dents, repeat with progressively larger tabs working from the center outward.
Realistic expectations: With practice, this technique restores 70–90% of soft dents to invisible. The first attempt will probably leave a slight high spot or pull mark — practice on a junkyard panel before attacking your daily driver.
Method 4 — Heat + Compressed Air (Thermal Shock)
Best for: Plastic bumpers and shallow metal dents on softer steel panels (older vehicles).
What you need:
- A hair dryer or heat gun on its lowest setting. Browse heat guns on Amazon if you don’t have one.
- A can of compressed air (the kind for cleaning keyboards) — it must be held upside down to spray as a cold liquid.
- Safety glasses and gloves.
Steps:
- Heat the dent and the surrounding 4–6 inches for 60–90 seconds. The panel should be hot to the touch but not painful — around 130–150°F.
- Immediately invert the compressed air can and spray the heated area for 30 seconds. The rapid temperature drop creates thermal shock that can pop the dent outward.
- Some dents pop visibly with a metallic snap. Others require 2–3 cycles.
- If three cycles don’t move it, switch methods. More heat or longer cycles risk damaging the paint.
Safety: Don’t aim a heat gun’s high setting at your paint — anything above 200°F can scorch clear coat. Use a non-contact infrared thermometer if you have one.
Method 5 — Hammer & Dolly Plus Body Filler
Best for: Larger metal dents on steel panels where you can access the back of the panel (most door skins, fenders with the wheel well removed, hoods, quarter panels). This is “real” body work — the dent gets pushed close to flat from behind, and any remaining low spots are filled with body filler and refinished.
What you need:
- A body hammer (cross-peen or pick) and a matching dolly. Browse body hammer and dolly sets ($30–80).
- Body filler. Bondo Professional Gold or Evercoat Rage Gold are the most consistent picks. Browse body filler on Amazon.
- Sandpaper assortment: 80, 120, 220, 320 grit.
- Spreader, mixing board, and spray primer + paint to refinish (this method always requires repaint).
Why this method requires paint: The hammer marks and any feathered filler edge will show through unless you sand and refinish. If you’re not prepared to repaint, use Method 3 instead.
The full step-by-step for this method (including filler application, sanding progression, and refinishing) lives in our dedicated guide: Mastering DIY Auto Body Repairs: A Step-by-Step Guide to a Perfect Finish.
When to Stop and Call a Professional
Skip DIY entirely and go to a body shop or PDR specialist if any of these apply:
- The paint is cracked or chipped. Any DIY method on broken paint will make the damage worse and turn a $200 PDR job into a $1,200 panel repair.
- The dent crosses a body line, character line, or panel edge. These require special access tools and significant skill.
- The dent is on an aluminum panel. Hoods, doors, and fenders on most cars from 2015+ are aluminum. It work-hardens differently than steel and requires heat-induction tools most DIYers don’t own.
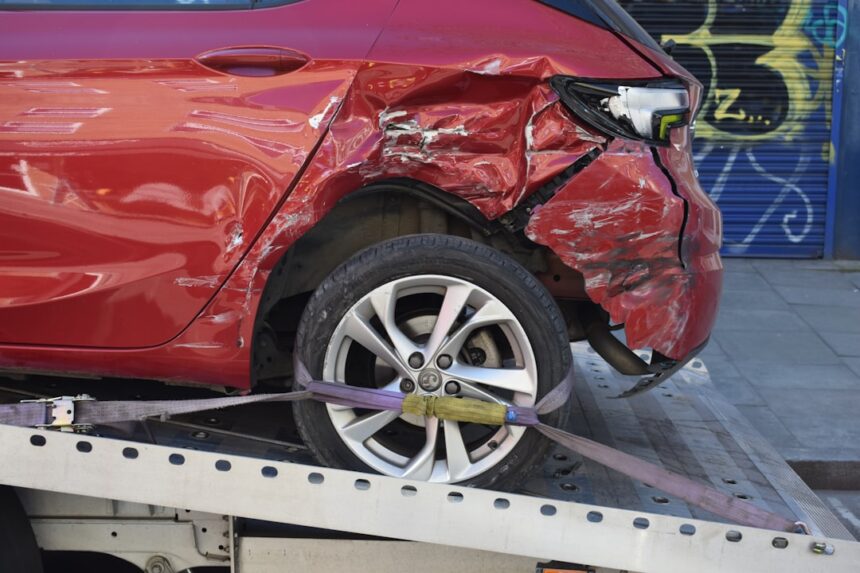
- The dent is the result of a collision with structural damage. Bent reinforcement bars, crush zones, or frame damage are not DIY work — and your insurance probably needs to be involved anyway.
- The repair cost is approaching the deductible. If the shop quote is $400 and your deductible is $500, you’ll pay out of pocket either way — but a real shop fixes it once.
If you want a quick price benchmark before deciding, our guide to auto body repair costs breaks down typical shop pricing by damage type.
Frequently Asked Questions
Will dent repair raise my insurance?
A single not-at-fault claim or comprehensive (non-collision) claim usually doesn’t raise rates. An at-fault collision claim almost always does. If the repair is under $1,500 and the deductible math works out close, paying out of pocket and skipping the claim is often cheaper long-term.
Does the boiling water trick really work on car dents?
Only on plastic bumpers — and only on soft, shallow dents with no creases. It does not work on metal panels regardless of what TikTok shows. Steel doesn’t soften at 212°F.
Can a deep dent be fixed without painting?
Yes, if the paint is intact and the dent has a smooth, round shape. Professional PDR technicians routinely repair dents up to 6 inches across without painting. Glue-pull (Method 3) is the at-home equivalent. Sharp creases and dents on body lines are exceptions and usually require panel beating and paint.
How long does DIY dent repair take?
Suction-cup attempts: 20 minutes. Boiling water on plastic: 30 minutes. Glue-pull on a moderate dent: 1–2 hours including setup. Hammer + dolly + filler + paint: a full weekend, including primer and clear-coat dry time.
What’s the cheapest dent repair option?
Suction cup ($10–25). It only works on a subset of dents, but it’s worth trying first because the downside is just 20 minutes of your time.
The Bottom Line
Most shallow dents on intact paint can be removed at home for under $50 in tools. The two failure modes are (1) trying to fix a dent that needs paint and making it worse, and (2) using the wrong method for the panel — heat methods on metal, suction on creased dents, glue-pull on cracked paint. If you’re unsure, the fingernail test and the dent-shape check above will tell you in under a minute.
For a wider toolbox, see our beginner’s guide: Understanding Auto Body Repairs. For body filler technique once you’ve moved a dent close to flat, see our deep-dive on body filler comparison.
Related Guides
Hail Damage Repair Cost & Insurance Guide 2026 (PDR vs Conventional) →Dent Repair Cost 2026: Complete Estimator by Damage Size & Location →Hail Damage Repair 2026: Cost, Process, DIY Options, and Insurance Guide →What Is Paintless Dent Repair? 2026 Cost, Eligibility & Process →Denver Hail Damage Repair: Costs, Best Shops & Insurance 2026 →