
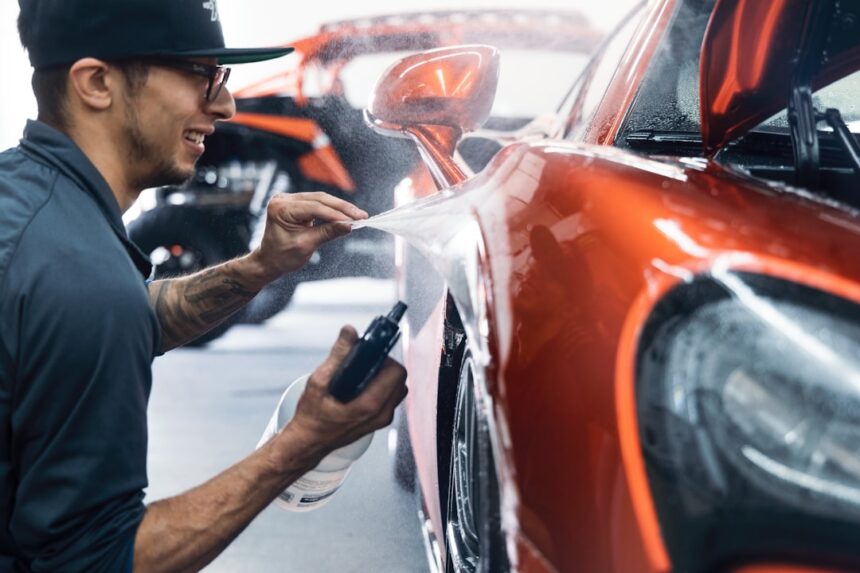
A cracked bumper cover is one of the most common daily-driver damage types — and one of the most price-inflated body shop jobs. Shops charge $425-$1,200 to replace what fiberglass repair fixes for $40-$80. This guide covers the exact fiberglass bumper repair process, materials, and when replacement is actually a better economic choice than repair.
Best picks for 2026
Bondo Fiberglass Repair Kit
Complete starter kit for bumper repair. Enough material for 2-3 average bumper repairs.
Check Price on Amazon →Evercoat Fiberglass Cloth Body Filler
Two-part cream filler with woven cloth. Stronger repair than chopped-strand kits.
Check Price on Amazon →3M Panel Bond Adhesive Kit
For bumper tab reattachment without fiberglass. Faster process (no wetting out).
Check Price on Amazon →3M Fiberglass Cloth Tape Roll
Woven fiberglass cloth on 4-inch roll. For layering over cracks before applying filler.
Check Price on Amazon →DEWALT DWE402 Angle Grinder + Carbide Burr Set
Rotary tool with carbide burr for widening cracks into V-grooves. Essential prep for good fiberglass adhesion.
Check Price on Amazon →SprayMax 2K Aerosol Primer Filler
Two-part urethane primer that adheres to fiberglass. Fills minor imperfections. Ready for paint in 30 minutes.
Check Price on Amazon →Fiberglass bumper repair cost comparison
| Damage type | DIY cost | Shop repair | Shop replacement |
|---|---|---|---|
| Crack under 6 inches | $40-$80 | $425-$650 | $925-$1,850 |
| Crack 6-12 inches | $60-$120 | $550-$850 | $925-$1,850 |
| Small hole (up to fist-size) | $60-$120 | $650-$1,050 | $925-$1,850 |
| Multiple cracks + damage | $120-$250 | Not viable | $925-$1,850 |
When to repair vs. replace
Repair (with fiberglass)
- Single crack up to 12 inches
- Small hole not exceeding 3 inches
- Bumper cover structurally intact
- No mounting bracket damage
- Paint match is manageable
Replace (buy new bumper cover)
- Cracks longer than 12 inches
- Multiple crack points
- Missing chunks of material
- Broken mounting brackets
- Damage to license plate mount or grille integration
- Metallic or pearl paint (hard to blend)
Step-by-step DIY fiberglass bumper repair
- Remove the bumper cover (usually 6-10 bolts + tabs). Work on it flat on a bench.
- Clean the damaged area with acetone. Remove all wax + dirt.
- V-groove the crack with a rotary tool + carbide burr. Widen to 60% depth of panel.
- Sand a 3-inch halo around damage with 80-grit. Fiberglass won’t bond to smooth paint.
- Cut fiberglass cloth — 3 pieces, each 1 inch larger than the last, largest 3 inches larger than damage.
- Mix polyester resin + hardener per package instructions. Work fast — 20 minutes pot life.
- Apply layer 1 — brush resin onto the sanded halo. Lay smallest cloth piece. Stipple down.
- Apply layer 2 and 3 — progressively larger cloth pieces. Wet each out completely (should be translucent).
- Let cure 2-4 hours at room temperature.
- Sand back to shape with 80-grit orbital, then 120, then 220.
- Apply skim coat of body filler to smooth any surface texture.
- Sand to 320-grit, then apply adhesion primer (essential for fiberglass) followed by regular primer.
- Wet-sand primer smooth with 400-grit.
- Apply color paint in 3-4 light coats.
- Apply clear coat in 2-3 coats.
- Let cure 24-48 hours before reinstalling.
Common mistakes
- Skipping the acetone wipe (residual wax prevents bonding)
- Not sanding halo before applying resin (won’t bond to smooth surface)
- Wet-out failure on fiberglass cloth (white spots = future delamination)
- Not applying adhesion primer before automotive primer (paint lifts)
- Working in cold weather (resin doesn’t fully cure below 65°F)
FAQ
Can I fiberglass repair any bumper cover?
Most modern bumper covers are polypropylene or ABS plastic. Fiberglass adheres well after proper prep. Won’t work on flexible EPDM (rare on modern cars).
How long does a fiberglass bumper repair last?
Done correctly, permanent. The bumper cover will delaminate before the fiberglass repair fails.
Do I need to remove the bumper for fiberglass repair?
Small repairs can be done in place. Larger repairs are much easier with the bumper on a bench.
Can I paint over fiberglass repair?
Yes with proper prep. Sand to 320-grit, apply adhesion primer, then automotive primer, then color + clear.
How much does DIY fiberglass bumper repair cost?
Materials: $40-$120 depending on damage size. Time: 3-6 hours including paint prep. Total savings vs. shop: $400-$1,700.
Is fiberglass repair as strong as new bumper?
For small-to-medium damage yes. For structural damage (large cracks, mounting bracket) new bumper is stronger.
Bottom line
Match products to your project size and skill level. All picks are proven in-stock on Amazon and represent good value at their price tier.