
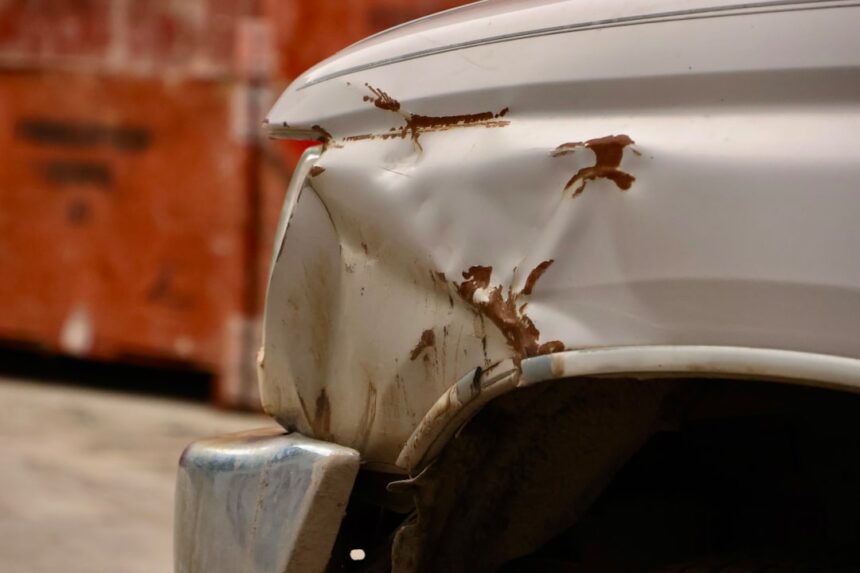
DIY trunk lid repair costs $100-$250 in materials vs $1,850-$3,300 shop repair — 88-93% savings for 4-8 hours of work.
Trunk lid damage from cargo, family life, or minor impacts is highly DIY-friendly. The lid bolts to hinges, comes off cleanly, and repair follows standard body work. Alignment during reinstall is critical.
- Trunk lid has cosmetic damage (dents, scratches, chips)
- Weatherstripping needs replacement
- You have basic body work experience
- You want to save $1,500-$3,000 vs shop
- You have workspace + patience for paint cure
- Trunk lid is bent (structural)
- Damage extends into rear body panels (multi-panel work)
- Latch mechanism is broken
- Trunk won’t close due to alignment issues (professional adjustment)
- You need vehicle back in <2 days
Common trunk lid damage
- Cargo loading dents: Small dents from loading + unloading
- Rear-end collision damage: Cosmetic damage from bumper contact
- Weatherstripping damage: Torn seals allowing water leaks
- Trunk latch failure: Latch mechanism issues
- Alignment issues: Trunk doesn’t close smoothly or gap uneven
Complete trunk lid repair kit
Materials (~$100-$250)
- PDR kit (for dents) — $30-$50
- Body filler — $20-$30
- OEM color paint — $15-$30
- 2K clear coat — $25-$35
- Etching primer — $10-$15
- Progressive sandpaper — $15
- Weatherstripping (if needed) — $30-$60
- Panel wipe — $10
Step-by-step trunk lid repair
Assessment (15 min)
- Check trunk alignment
- Test trunk latch
- Inspect weatherstripping
- Assess visible damage
PDR for small dents (30-90 min)
- Access dent from behind through trim removal
- Use PDR rods to push out
- Work slowly + progressively
Body filler + paint (3-5 hours)
- Sand damage area with 220 grit
- Apply body filler in thin coats
- Sand smooth progressive grits
- Panel wipe + tack cloth
- Apply etching primer (2-3 coats)
- Sand primer with 600 grit
- Apply color coat (3-4 thin coats)
- Apply 2K clear coat (2-3 coats)
- Wait 48-72 hours cure
Reinstallation + alignment (30-60 min)
- Verify weatherstripping condition
- Reinstall trunk lid
- Adjust hinges for proper alignment
- Test gap consistency around trunk
- Torque hinge bolts
- Verify latch operates smoothly
- Trunk lid damage is highly DIY-friendly with standard body work approach
- Alignment during reinstall is critical for proper closing + water sealing
- Weatherstripping replacement is often needed as separate task
- PDR from behind works well for small cargo-loading dents
- 2K clear coat provides same durability as shop paint job
Complete recommended product kit
Dupli-Color Perfect Match Paint
Match paint code exactly.
Check Price on Amazon →SprayMax 2K Aerosol Clear Coat
Durable finish for repair.
Check Price on Amazon →Cofair Universal Weatherstripping
Universal weatherstripping for various vehicles.
Check Price on Amazon →Nilight Trim Removal Tool Set
For removing interior trim.
Check Price on Amazon →3M Half-Mask Organic Vapor Respirator
Essential for painting.
Check Price on Amazon →The Rag Company Premium Microfiber
For blending painted area.
Check Price on Amazon →FAQ
Should I remove trunk lid for repair?
For major work yes. For PDR + minor paint, work on it installed.
How do I align trunk lid after installation?
Adjust hinge bolts. Check gap consistency around trunk. Test water sealing.
What if weatherstripping is torn?
Replace before painting to avoid getting paint on new seal.
Can I DIY trunk lid replacement?
Yes — bolts on same as removal. New OEM $1,500-$3,000. Used from salvage yard $500-$1,200.
What causes trunk misalignment?
Impact damage, bent hinges, weather stripping compression, hinge wear.
How much can I save vs shop?
$1,500-$3,000 vs full shop repair + repaint.
Does insurance cover trunk damage?
Collision damage yes. Wear + tear no.
How long does DIY repair last?
5-15+ years if done right. Same as shop repair.
Bottom line
Match your project to your skill level and available time. DIY saves substantial money vs shop repair when done correctly. Always err toward more prep + safer approach vs speed.