
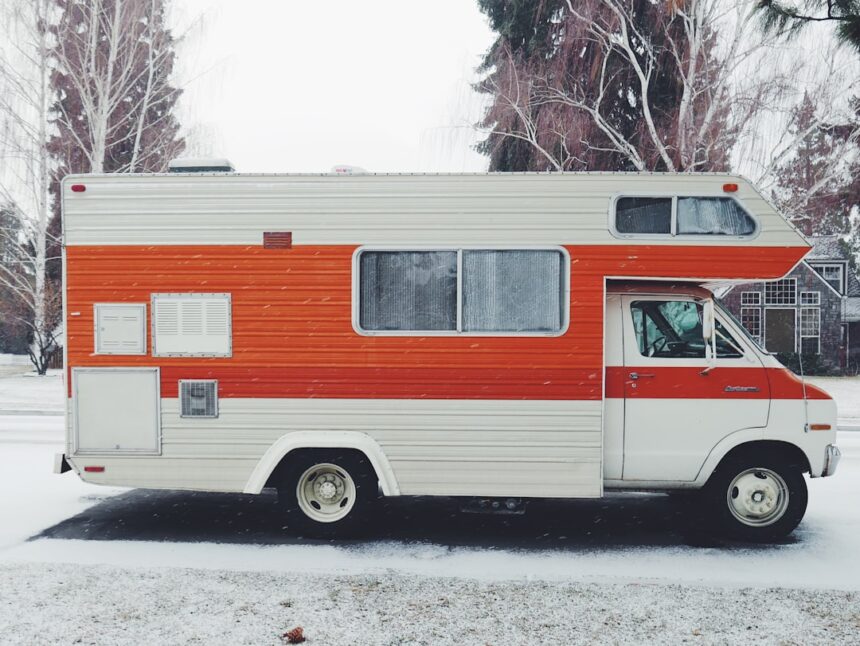
RV fiberglass repair is one of the highest-value DIY projects — RV shops charge $150-$200/hour and full sidewall or roof repair often runs $2,500-$8,000+. Most DIY repairs cost $50-$300 in materials and save weeks of shop time. This guide covers sidewall damage, roof repair, and delamination — the three most common RV fiberglass issues.
Common RV fiberglass damage
- Sidewall punctures: Tree branches, road debris. Cut clean, patch with fiberglass. $50-$120 materials.
- Delamination (bubble): Water gets under the fiberglass layer, causing bubbles. Inject epoxy to reattach. $60-$150.
- Roof cracks: Stress cracks from UV degradation. Grind, patch, seal. $80-$200.
- Front cap damage: Impact damage on the RV nose. Major project: $300-$800 materials.
- Rear cap damage: Similar to front. $200-$600 materials.
Sidewall repair walkthrough
- Assess damage extent — including hidden water damage behind fiberglass
- Cut back to sound fiberglass with reciprocating saw or angle grinder
- Verify structure behind is dry — replace foam or wood core if wet
- Cut fiberglass cloth patches to overlap opening by 3+ inches
- Mix marine-grade epoxy or specialized RV fiberglass resin
- Layer patches: smallest at deepest, progressively larger to surface
- Let cure 48-72 hours before sanding
- Sand flush with body filler for surface smoothness
- Prime and paint or gelcoat to match
- Seal all edges with RV sealant for water resistance
Delamination — the sneaky RV repair
Delamination happens when the outer fiberglass separates from the underlying structure (usually plywood core or foam). Small bubbles (fist-size) can be injected with epoxy through a small hole and clamped. Larger delaminations require cutting back to sound bond, treating the core if wet, and re-bonding with epoxy.
Delamination is a race — water expands the affected area rapidly. A 4-inch bubble in spring becomes a 12-inch delamination by fall. Address bubbles immediately when discovered.
Best products for this project
Bondo Fiberglass Repair Kit
Complete RV-compatible fiberglass repair kit with resin, hardener, cloth, and mixing tools.
Check Price on Amazon →West System 105 Epoxy + Hardener
Long-cure marine-grade epoxy — appropriate for RV sidewall and roof work.
Check Price on Amazon →Dicor 501LSW Self-Leveling Lap Sealant
Industry-standard RV roof sealant for edges and seams around repairs.
Check Price on Amazon →Fibre Glast 10 oz Fiberglass Cloth
Heavier weight (10 oz) appropriate for RV structural repair.
Check Price on Amazon →Bondo Body Filler
For smoothing surface after fiberglass patch cures.
Check Price on Amazon →FAQ
Is RV fiberglass the same as boat fiberglass?
Similar materials but RV uses lighter cloth weights (typically 6-10 oz vs. 12-24 oz marine). Marine epoxy works on RVs too.
Should I DIY RV sidewall repair?
Yes for damage under 12 inches. Larger sections and delamination over 24 inches need professional assessment for hidden water damage.
What’s the difference between RV fiberglass and aluminum?
Fiberglass RVs (Winnebago, Fleetwood, most modern) have gel-coated fiberglass exterior. Aluminum RVs (Airstream, older) use riveted aluminum panels. Repair techniques are completely different.
How do I seal a fiberglass repair against water?
After the fiberglass cures, apply RV-specific self-leveling lap sealant (Dicor 501LSW) around all repair edges. Marine caulk works but isn’t UV-optimized for RV applications.
Related resources
RV fiberglass shares fundamentals with all fiberglass work. For core techniques, see our complete fiberglass DIY guide.