
Sanding is 60% of any fiberglass finishing project. It’s also the step most DIYers rush or skip steps in — leading to visible imperfections that paint reveals brutally. This guide covers grit progression, wet vs. dry technique, common mistakes, and the specific approach professional finishers use.
The full grit progression
Every fiberglass project moves through progressive grits, each removing scratches from the previous grit. Skipping steps leaves scratches that show through paint.
- 40 grit: Initial shaping only. Extremely aggressive.
- 80 grit: Level uneven cured fiberglass. Cut down high spots.
- 120 grit: Refine 80-grit scratches. Blend transitions.
- 220 grit: Ready for filler or primer.
- 400 grit: Between primer coats.
- 600 grit: Before color coats.
- 800 grit: Between color coats.
- 1500 grit: Wet-sand cured clear.
- 2000-3000 grit: Final polish prep.
Wet vs. dry sanding
- Dry sanding: Faster, easier to see progress, less mess. Use for 80-220 grit stages.
- Wet sanding: Better for finishing grits (600+). Reduces heat, prevents clogging, produces smoother finish.
- When to switch: Around 400 grit. Everything below 400 = dry; 400 and above = wet.
Block sanding vs. random orbital
Block sanding: Uses a rubber sanding block with sandpaper wrapped around. Provides flat sanding surface, prevents dips. Essential for large flat panels.
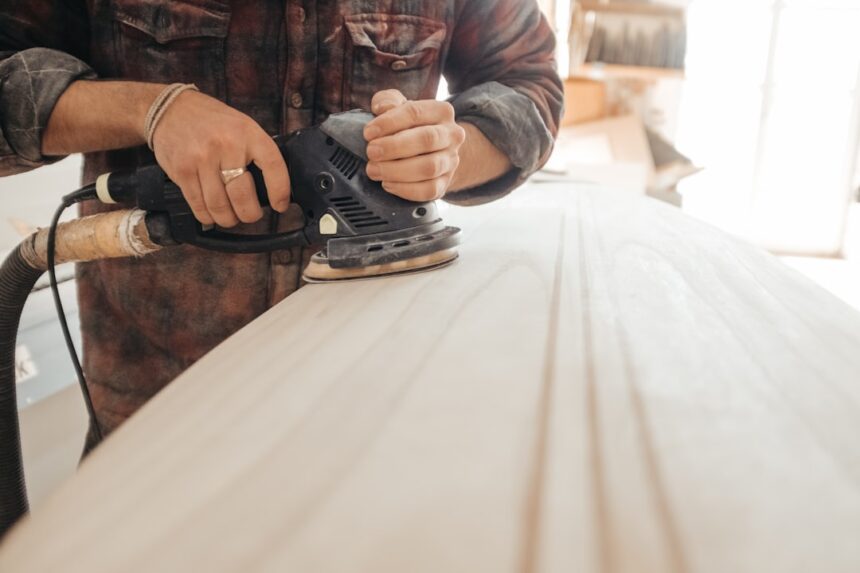
Random orbital sander: Powered, orbital motion. Fast on large areas. Watch for gouges on inside corners. Best for 80-400 grit stages.
Hand sanding: For inside corners, tight spaces, final finish work.
The check-and-fix cycle
- Sand systematically — passes overlap 50%
- Wipe with tack cloth to remove dust
- Inspect with raking light (side light shows all imperfections)
- Feel with hand — surface should be smooth to touch
- If defect found: mark with pencil, sand out, re-check
- Only move to finer grit when current grit stage is defect-free
Common sanding mistakes
- Skipping grits: Going 80 → 220 skips essential intermediate steps.
- Too much pressure: Grits work better with light pressure and more passes.
- Wet-sanding too early: Below 400 grit, water washes away important tactile feedback.
- Ignoring inspection light: Overhead light hides scratches. Use raking light.
- Sanding through primer to fiberglass: Re-prime and re-sand.
Best products
Norton Multi-Sand Block Kit
Progressive grit blocks (80-2000) specifically for automotive and fiberglass finishing.
Check Price on Amazon →3M Wet/Dry Sandpaper Assortment (400-2000)
Full range for wet-sanding finishing work.
Check Price on Amazon →DeWalt DWE6423 Random Orbital Sander
Corded 5-inch sander with variable speed. Reliable for extended fiberglass work.
Check Price on Amazon →NEIKO Adjustable LED Work Light
Bright LED that reveals paint and fiberglass imperfections. Essential for detail work.
Check Price on Amazon →Trewax Tack Cloth (12-pack)
Sticky tack cloth that removes dust before primer/paint. Buy multiple.
Check Price on Amazon →FAQ
Can I skip grit levels?
No. Each grit removes scratches from the previous. Skipping leaves visible scratches under paint.
Wet or dry sanding on fiberglass?
Dry through 400 grit, wet from 400+ grit. Water prevents clogging and reduces heat at finer grits.
Random orbital or block sanding?
Random orbital for large flat areas + speed. Block sanding for flat panels + prevention of dips. Hand sanding for corners.
How do I know when I’ve sanded enough?
Raking light inspection reveals imperfections. Feel with clean hand. Move to next grit only when current grit shows no scratches or defects.
Related resources
For fiberglass fundamentals, see our complete fiberglass DIY guide.