
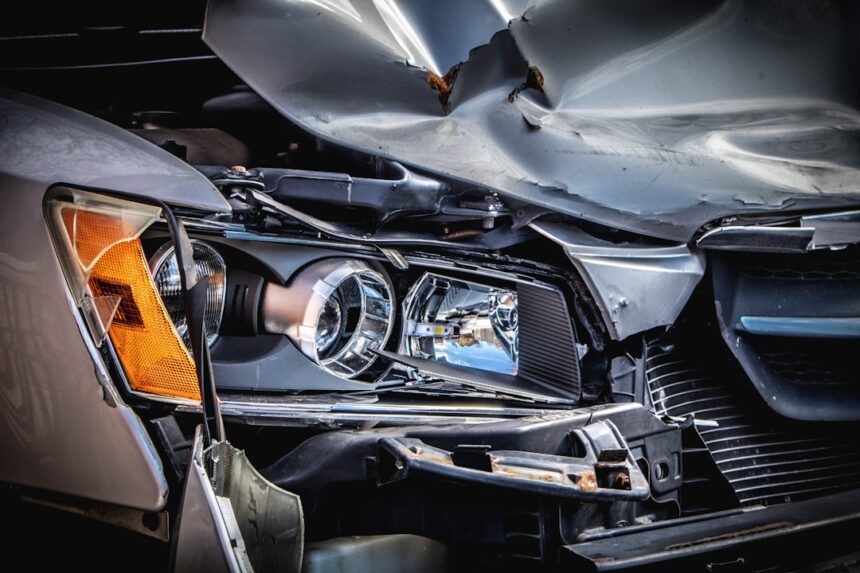
DIY bumper cover replacement costs $50-$120 in materials plus $200-$450 for the bumper cover itself, vs $1,150-$2,150 for full shop replacement.
Bumper cover replacement is one of the most DIY-friendly major body repairs. Modern plastic covers unclip and rebolt in 2-3 hours with basic tools. This guide covers everything from removing damaged covers to painting and installing new ones.
- You have basic mechanical skills (can remove interior trim)
- You have a garage or covered space
- You want to save $700-$1,700 vs shop
- The new cover matches your vehicle year + trim exactly
- You’re patient enough to wait for paint to cure
- You need vehicle back in 24 hours
- You don’t have a clean space to paint
- The bumper has structural or frame damage behind cover
- Your vehicle has integrated sensors you’re not confident disconnecting
- Painting metallic or tri-coat colors (spray-can matching is difficult)
Do you need full replacement or repair?
When repair is possible
- Surface scratches or scuffs (any size)
- Small cracks under 4 inches
- Missing paint but intact plastic
- Minor holes from parking cones or blocks
When replacement is required
- Large cracks over 4 inches
- Broken tabs or mounting points
- Missing sections of plastic
- Structural damage from moderate impact
- Cover deformed and won’t return to shape
For borderline cases, replacement is usually easier + more reliable than complex repair.
What you need for full replacement
The new bumper cover
Three sources with tradeoffs:
- OEM (dealer): $400-$1,200. Best fit + finish. Warranty included.
- OEM-quality aftermarket (CAPA-certified): $200-$450. Very close fit. 40-60% savings.
- Standard aftermarket: $100-$250. Fit varies. Some require modification.
- Salvage/used: $150-$400. Requires touch-up + refinish.
Materials (~$80-$150 if painting)
- Adhesion promoter — $10-$15
- Etching primer — $15-$25
- OEM color-matched paint — $15-$30 (or $200-$400 professional match)
- 2K clear coat — $25-$35
- Sandpaper progressive grits — $15
- Masking tape + paper — $10
- Panel wipe/prep — $10
Tools
- Socket set (10mm most common) — $30
- Trim removal tool set — $15
- Screwdrivers (Phillips + flat) — $10
- Ratchet + extension — $25
- Torque wrench (for reinstall) — $40
Step-by-step replacement process
Day 1 — Removal (1-2 hours)
- Disconnect fog lights, parking sensors, cameras at connector housings.
- Remove wheel arch fasteners (usually 3-5 clips + 2-3 bolts per side).
- Remove upper grille fasteners (varies by vehicle).
- Remove hood latch cable if it routes through bumper.
- Pull cover down at edges to release clips.
- Support cover as it comes free. Watch for hidden connectors.
Painting the new cover (if needed) (2-4 hours + cure)
- Clean new cover thoroughly with panel wipe.
- Sand any texture with 400-grit if aftermarket.
- Apply adhesion promoter. Wait 15 minutes.
- Apply etching primer. 2-3 coats, 15 min flash between.
- Sand primer with 600 grit.
- Apply color coat. 3-4 thin coats.
- Apply 2K clear. 2-3 coats.
- Wait 48 hours cure before handling.
Installation (30-60 min)
- Test-fit before final install. Check clip alignment.
- Reconnect all electrical. Test fog lights + sensors before final tightening.
- Install cover following removal steps in reverse.
- Torque bolts to spec.
- Verify all clips seated properly.
- Test all electrical.
Common mistakes
- Not disconnecting sensors first: Broken wiring costs $200-$500 to repair.
- Skipping adhesion promoter on plastic: Paint peels off within 6 months.
- Forcing off without releasing all clips: Breaks mounting tabs.
- Not test-fitting before final install: Discover fit issues after already assembled.
- Wrong paint code: Color mismatch visible in daylight.
- Rushing between paint coats: Runs, sags, orange peel.
- Bumper cover replacement is 3-5 hours for someone with basic mechanical skills
- CAPA-certified aftermarket covers save 40-60% with excellent fit
- Adhesion promoter on plastic is non-negotiable — paint peels without it
- 2K aerosol clear coat matches spray-gun quality for durability
- Save your old bumper — it’s worth $50-$200 in resale value
Complete recommended product kit
Dupli-Color Perfect Match Automotive Paint
Match your paint code exactly. Vehicle-specific matching.
Check Price on Amazon →SprayMax 2K Aerosol Clear Coat
Professional 2K clear from an aerosol. Essential for durable finish.
Check Price on Amazon →Bulldog Adhesion Promoter
Non-negotiable for painting plastic bumpers.
Check Price on Amazon →SEM Self-Etching Primer
Bonds directly to bare plastic. Foundation for durable paint.
Check Price on Amazon →Nilight Trim Removal Tool Set
Prevents damage to clips during removal.
Check Price on Amazon →Craftsman 165-Piece Mechanic’s Tool Set
Complete socket set for automotive work.
Check Price on Amazon →Tekton 24335 Torque Wrench
3/8-inch drive click torque wrench for reinstall.
Check Price on Amazon →3M Wet/Dry Sandpaper Assortment
Progressive grits for surface prep.
Check Price on Amazon →3M Painter’s Tape (14-day)
Precision masking for clean paint lines.
Check Price on Amazon →Eastwood PRE Paint Prep
Removes oils + contamination before painting.
Check Price on Amazon →3M Plastic Bumper Repair Filler
Fills small gouges before painting.
Check Price on Amazon →3M Half-Mask Organic Vapor Respirator
Essential safety for spray painting.
Check Price on Amazon →COSTWAY Inflatable Paint Booth
For dust-controlled painting environment.
Check Price on Amazon →FAQ
How do I know which bumper cover to buy?
VIN decoder confirms your exact bumper part number. Buy year + trim + package specific.
Should I paint before installing?
Yes for quality control. Painting installed cover risks overspray on paint + trim.
Can I install an aftermarket bumper?
Yes. CAPA-certified aftermarket covers install just like OEM. Fit is 95-100% similar.
How long before I can drive?
Immediately after installation. Paint cure takes 48-72 hours but doesn’t affect driving.
Do I need to recalibrate parking sensors?
Usually no — sensors just clip back into new cover. Adaptive cruise cameras may need recalibration.
What if the paint doesn’t match?
Small mismatches can be blended in adjacent panels. Major mismatches require reshoot with proper code.
Can I paint outdoors?
Not recommended. Wind + insects + dust ruin fresh paint. Garage with fan works better.
How much does shop replacement cost?
$1,150-$2,150 depending on vehicle + shop tier + paint match complexity.
Bottom line
Match your project to your skill level and available time. DIY saves substantial money vs shop repair when done correctly. Always err toward more prep + safer approach vs speed.