
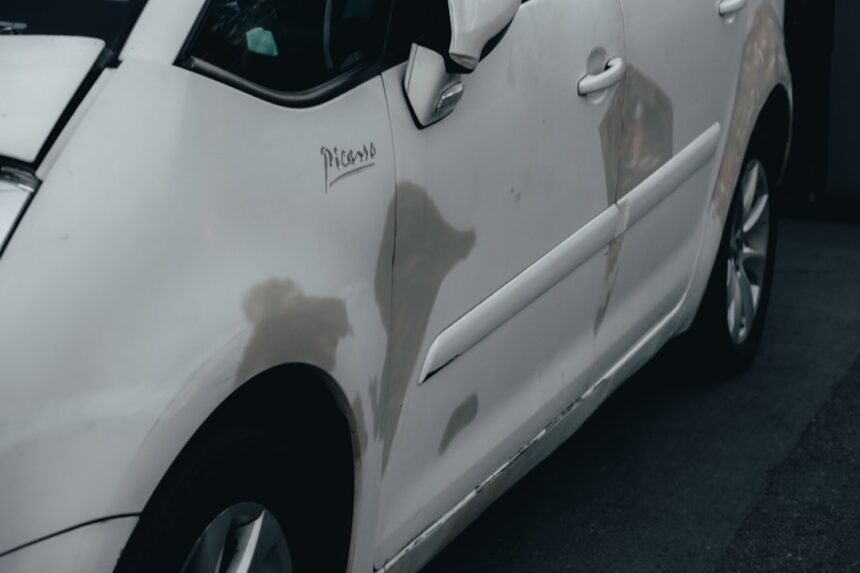
Professional dent removal is far more than “popping a dent out.” It’s a metal sculpture process — reading the tension in the panel, working the low and high spots systematically, and finishing to a mirror-smooth surface with no filler. Here’s how the pros actually do it.
The Physics: Why Dents Aren’t Simple
Recommended: fix small dents at home
Handpicked Amazon products relevant to this guide. Prices vary, links go to current Amazon listings.
When metal is dented, it stretches. The low spot (the dent) is surrounded by a raised ring (the high spot / crown) where the metal displaced. Fixing a dent isn’t just pushing the low spot up — it’s simultaneously lowering the crown and re-tensioning the panel to its original shape.
If you only push the low up, you get a “high spot” that’s worse than the original dent. If you only tap the crown down, the low stays. Real dent work does both, iteratively.
The PDR Tool Kit — Professional Grade
- Rod set (12-40 tools): Curved metal rods for pushing dents from behind, in a range of lengths and tip shapes.
- Knockdowns: Nylon or aluminum tips for gently tapping high spots down without marring paint.
- PDR light or line board: A striped light source that reveals every micro-variation on the panel surface.
- Glue puller system: Hot-melt tabs and slide hammers for pulling dents where rod access isn’t possible.
- Heat gun / induction heater: Warms metal for controlled shaping.
Reading a Dent Under PDR Light
Under the striped light board, the reflection lines curve where the panel is distorted. Pros read the light pattern to see:
- Where the deepest low is
- Where the high spot ring is
- Whether the metal is stretched (permanent distortion) or just displaced (fully recoverable)
Stretched metal will not fully return to flat — the panel must be shrunk with heat or replaced.
The Sculpture Process
- Access the back of the panel — remove trim, sound deadening, or door skins as needed.
- Set up the PDR light to reveal the dent topography.
- Start with the deepest point. Push a small rod tip against the deepest low from behind. Watch the light reflection — you’ll see the low shrink and the crown rise.
- Immediately tap the crown down with a knockdown tool. Small taps, light pressure.
- Move outward. Work in a spiral pattern from the center out, alternating push and tap.
- Check reflection continuously. The light lines should progressively straighten as the panel returns to shape.
- Finish with micro-adjustments. Once the major dent is 90% out, use fine tips for the last 10%. This is where a professional job differs from a “good enough” one.
Advanced Techniques
Heat Shrinking
Stretched aluminum or steel can be shrunk back by heating a small spot to ~800°F, then quenching with a wet cloth. The rapid contraction pulls the metal tight. Requires practice — over-heat and the paint burns; under-heat and nothing happens.
Blend Panels
When a dent extends into a body line or crown, the fix must respect the sharp edge. Pros use edge tools (fine tips shaped to the body line) to push carefully along one side without distorting the other.
Glue Pulling for Sealed Panels
Quarter panels and hoods with sealed back structures can’t be rod-pushed. Glue tabs and slide hammers pull the low up from the front. Then knockdowns finish the high spots. This method is trickier — over-pull is common — but essential for many modern vehicles.
DIY vs. Professional PDR
A skilled pro can PDR a golf-ball-sized dent in 20-45 minutes with zero paint damage. A DIYer working on their first dent typically takes 3-5 hours and often creates high spots that require additional work.
Realistic DIY expectations: soft hail dents, shallow door dings, and shopping cart marks are learnable. Body-line dents, deep creases, or dents on aluminum panels are usually beyond amateur skill.
Cost Comparison
| Dent Type | Pro PDR Cost | Body Shop (with paint) |
|---|---|---|
| Small door ding (nickel size) | $75-150 | $350-650 |
| Golf ball (2-3″) | $125-250 | $500-950 |
| Medium (4-6″) | $200-450 | $750-1,400 |
| Hail damage (whole car) | $1,200-4,500 | $4,500-15,000 |
Related Guides
Related Guides
Related guides you may find useful
Explore more content from our body-work and DIY-repair library.