
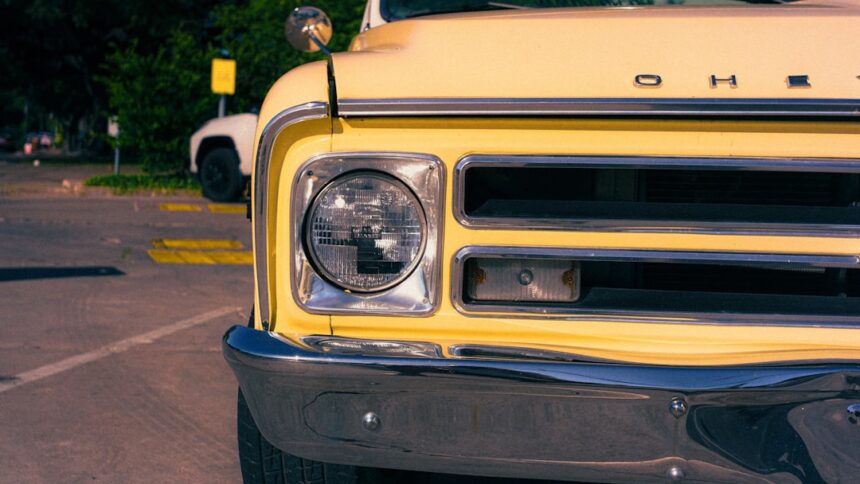
Headlight Restoration is an approach designed to remove fogginess from car headlights. Foggy headlights impede visibility, creating dangerous driving situations for drivers.
Start by applying your cleanser (toothpaste, baking soda or a headlight cleaner kit) liberally over your headlights. Be sure to lubricate the surface using water and use consistent sanding motions.
Cost
Headlights are one of the most vital components of any vehicle. Not only do they allow drivers to see where you’re heading, but they also let oncoming drivers know your car is approaching. But as your car ages, its headlights may become dimmed or fogged over time, reducing their effectiveness when driving at night or in adverse weather conditions – potentially increasing difficulty and risks significantly. Luckily, headlight restoration services provide a solution.
Companies offer headlight restoration services at reasonable costs. This option can help improve clarity while decreasing glare for other motorists – and is much less expensive than replacing lenses altogether! Restoring headlights may significantly enhance safety during night driving or in inclement weather.
Cleansing and restoring headlights requires multiple steps that include applying surface activators, spraying it onto the lens, sanding, polishing, and coating it with protective sealant. Results may differ greatly depending on the kit used and degree of oxidization in headlights as well as difficulty cleaning them without damaging or scratching them, leading to costly repairs later.
To achieve the best results, it is advised that you utilize a kit designed specifically for headlight cleaning. The most suitable kits include an in-depth process which involves an initial cleaning solution, sanding pad and finish cleaner as well as UV protectant to guard against future oxidation – their costs vary depending on the make and model of your car.
Checking and replacing headlights regularly and when necessary is a must for maintaining optimal vision. A headlight tester or close examination are both useful tools in doing this task; any cloudy or dulling should be addressed immediately so as to preserve clarity of vision.
if you decide to DIY it’s wise to purchase a headlight restoration kit from an auto parts store. They are generally user-friendly, and often contain several headlight cleaners with mild abrasive qualities which help with oxidation removal.
Time
Headlights are made of durable plastic materials designed to withstand adverse weather and road conditions, but over time this plastic can become dull and cloudy, diminishing their brightness and effectiveness. If this occurs on your car, either purchase a DIY kit or seek professional services – the latter generally yield better results that last longer.
Many headlight restoration products involve a multistep process of sanding, polishing and coating lenses with sealants to make them clear again. Although some kits may be effective at removing mild oxidation damage from lenses, they typically don’t do the trick when it comes to extreme damage. Wet sanding requires significant effort but can produce spectacular results while dry sanding uses an abrasive pad to smooth away imperfections on lens surfaces.
Car owners sometimes avoid undertaking headlight restoration because they believe it will be too expensive or time-consuming, but in actuality hiring professional services to manage it is much cheaper and quicker – often within an hour or two!
Professional headlight restoration can save time while increasing personal safety by making it easier to see the road ahead of you. Dull and cloudy headlights may make it more difficult to see other vehicles on the road ahead, creating dangerous driving scenarios. Furthermore, poorly restored headlights may reflect traffic lights into blind spots creating dangerous driving situations.
Note that while DIY headlight restoration kits can work on most foggy headlights, their results won’t compare to professional services in terms of quality and effectiveness. This is because professional technicians have access to specialist equipment and materials not available in consumer kits and understand how best to utilize these tools in order to obtain optimal results when dealing with severe oxidation or other significant damage. This factor is especially critical when treating severe damage such as severe oxidation.
Safety
Headlights that become foggy or yellow lose their ability to illuminate the road and pose a safety hazard, making driving at night or during rain or snowstorms dangerously hazardous. In order to restore clarity to your headlights before they fail you, this is particularly crucial if driving at night or through stormy conditions such as rain and snowstorms; clear headlights allow drivers behind you to see you clearly, while also helping others recognize you easily on the road ahead.
Headlight restoration can be completed at home using a kit purchased from a car store, provided that several safety precautions are observed prior to starting. You should wear protective eyewear and work in an area with plenty of ventilation in order to avoid inhaling chemicals or fumes that might harm you during this process. Also be sure to read and heed any instructions carefully in order to achieve maximum results with minimum risk.
Before beginning the headlight restoration process, make sure that your headlights are clean. Rinse off and wipe down with damp cloth any dirt or debris on the lens, while protecting surrounding frame and paint by masking with tape – as some cleaning solutions used in headlight restoration kits can damage paint surfaces and require masking before proceeding with restoration efforts.
Once complete, apply an appropriate grit sanding grit to your vehicle for evenly and consistently removing the oxidation. After finishing with this step, apply UV sealant to all the lenses to protect plastic from further oxidizing and achieve better results more quickly while also prolonging their appearance like newness for longer.
After cleaning the headlights with soapy water, use a rubbing compound to buff them and eliminate any remaining marks or scratches left by sanding. A rubbing compound will leave behind a glass-like finish which improves visibility of your headlights while protecting plastic against harmful ultraviolet rays that discolor over time. Rubbish compound can be purchased from automotive stores or online; additionally, headlight restorer kits often include these products.
Appearance
Restoring headlights is an ideal way to upgrade the appearance of your vehicle and improve its nighttime driving capabilities. Not only will it improve its look, but restoring headlights also makes driving safer and simpler at night – although you must be aware of any associated risks; you can limit them by choosing suitable products and performing the task in a clean environment.
Automobile manufacturers frequently employ polycarbonate plastic in headlight lenses. Unfortunately, over time this material can discolor due to sunlight exposure, road salt accumulation and other environmental influences – becoming hard for drivers on the road to see and even potentially hazardous if their clarity has been lost.
Professional restoration companies use micro-fine abrasives to polish plastic back to its original glass-like finish, helping extend headlight life and protect from further damage. Furthermore, professional restorers also provide UV-resistant clear coat coating to keep harmful ultraviolet rays from discolouring the lens again.
Headlight restoration products range from DIY kits to professional-grade treatments, each providing different sandpaper types as well as cleaning and polishing compound, polishing compound, protective sealant and sealant to restore headlights. However, for beginners these methods may prove challenging due to requiring plenty of handwork while their abrasive nature could potentially harm other parts of their vehicle’s body.
Be sure to cover your headlights with tape before beginning sanding; this will protect them from accidental sanding of paint and chrome that could cost thousands. Also wear a dust mask during your work to reduce dust inhalation.
Once sanding is complete, use a soft cloth to wipe away any remaining particles before re-lubricating with water and lightly wet-sanding with 1,000 grit sandpaper – be sure to use consistent motions when wet-sanding! Next step should be polishing headlights with rubbing compound; this will smoothen them out while eliminating any scratches left by sanding and applying sealant as final step to keep the headlights safe and protected.
Recommended Headlight Restoration Kits
Foggy headlights aren’t just cosmetic — they cut your night visibility by up to 60%. A $20-40 kit restores 90%+ of new-condition clarity.
- Meguiar’s Heavy Duty Headlight Restoration Kit — best all-in-one for moderate haze ($20-30).
- Sylvania Headlight Restoration Kit — includes UV sealant for lasting results ($20-35).
- 3M Headlight Lens Restoration System — the shop-grade choice, drill-attachment based ($25-40).
- Cerakote Ceramic Headlight Restoration Kit — best-lasting result (rated for 5+ years) ($35-50).
Amazon affiliate links support this site.