
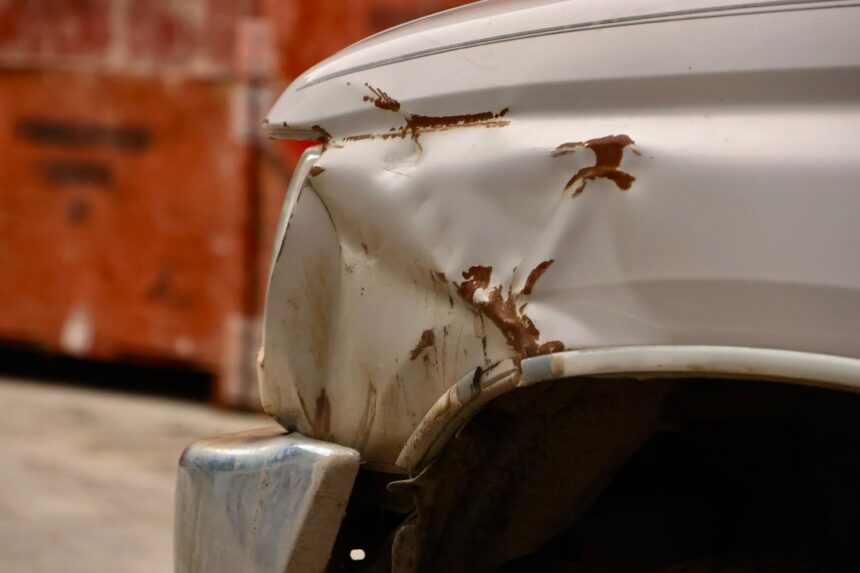
A cracked plastic bumper costs $700-2,200 at a body shop. Plastic-weld it at home with $50-100 in supplies for a repair that’s structurally sound and — with careful paint work — nearly invisible.
Identify the Damage First
Not all cracks are DIY-able. Here’s what determines fix vs replace:
DIY-friendly damage
- Cracks under 6 inches, no missing chunks
- Cracks that go through the plastic but don’t involve mounting points
- Small cracks (under 2 inches) that just need adhesive filling
- Impact cracks on the front lip / bumper cover
Skip DIY, replace instead
- Cracked mounting brackets or clip attachment points
- Missing chunks larger than a golf ball
- Multiple intersecting cracks (structurally compromised)
- Cracks that involve sensor housings (parking sensors, radar)
- Textured/unpainted bumpers on trucks (harder to hide repair)
Get 3 free quotes from local body shops
We match you with verified shops. Response within 24 hours.
Get my free quotes →Know Your Plastic Type
Modern bumpers use one of three plastics — the code is molded on the inside:
PP (Polypropylene) — Most Common
Flexes on impact. Easy to weld with PP-specific welding rod. Slightly translucent when heated.
TPO (Thermoplastic Olefin) — Common on Modern Cars
Similar to PP but with elastomer additives. Weld with TPO rods for best result.
ABS (Acrylonitrile Butadiene Styrene) — Older Vehicles & Some Luxury
Rigid, doesn’t flex much. Weld with ABS rods. Cracks tend to be cleaner.
Look inside the bumper for the plastic recycle code (PP, TPO, ABS). If uncertain, PP is the safest bet — most modern bumpers are PP or TPO.
Materials & Cost
- Plastic welding kit with heat gun + rods — $40-90
- 2-part plastic epoxy (backup fill) — $15-30
- Flexible body filler (for texture blend) — $15-25
- Sandpaper 80/180/320/600/1500 grit — $20-40
- Automotive primer / adhesion promoter for plastic — $20-40
- Color-matched touch-up paint (VIN) — $10-18
- Automotive clear coat — $25-45
- Wax & grease remover — $15-30
- Respirator (mandatory for paint) — $40-90
- Nitrile gloves — $15-25
Total: $215-435 first time, $50-100 subsequent repairs (tools are one-time).
Step-by-Step Repair Process
Phase 1 — Prep (30-45 minutes)
- Remove the bumper cover for easier access. On most vehicles: remove wheel well liners, then plastic push clips from the underside, then screws/bolts from top and grille. This is optional for surface cracks but essential for cracks near mounting points.
- Clean the crack area thoroughly. Wax and grease remover on both sides of the crack. Let dry.
- Sand the crack area to bare plastic. Use 80-grit sandpaper on the back side of the bumper, extending 1 inch beyond the crack in every direction. This creates a good welding surface.
- V-groove the front of the crack. Using the tip of a utility knife or a rotary tool with a small burr, carve a shallow V-groove along the full length of the crack (both sides if the crack is visible from inside). The V allows welding rod to penetrate.
Phase 2 — Weld (20-45 minutes)
- Preheat the plastic welding tool. Most units run 400-500°F for PP/TPO, 380-430°F for ABS.
- Start with the back side. Hold the welder tip against the bumper’s back surface right at the crack. Feed welding rod into the joint slowly. The rod melts and fuses to the bumper plastic — you’re not “gluing,” you’re chemically welding.
- Work in 2-3 inch sections. Weld a section, let cool 30 seconds, move to next section. Keeps heat from warping the bumper.
- Add stainless steel wire mesh to the back for reinforcement. After the initial weld, press a piece of fine wire mesh into the still-warm weld area. This is a game-changer for structural strength — the mesh bridges the crack and prevents re-cracking.
- Weld a second layer of rod over the mesh to encapsulate it.
- Move to the front side. The V-groove you carved earlier fills with rod as you weld from the front.
- Overfill slightly. You want more material than needed — you’ll grind it flush in the next phase.
Phase 3 — Shape & Fill (45-90 minutes)
- Let the weld cool completely (10-15 minutes).
- Rough sand with 80-grit to level the welded rod flush with the surrounding bumper surface.
- Apply flexible plastic body filler over the weld to fill any low spots or texture mismatches. Bumper filler is different from steel body filler — it stays flexible with the bumper.
- Sand progressively: 180 → 320 → 600 grit. Between grits, wipe with dry cloth to check for high or low spots. Fill any lows with more filler, sand any highs.
- Feather-edge into surrounding paint. Sand 2-3 inches beyond the repair area at 320-grit so the transition is gradual.
Phase 4 — Prime & Paint (2-4 hours + curing)
- Clean with wax & grease remover. No oils, no fingerprints.
- Apply plastic adhesion promoter per label instructions. This is different from regular primer — it’s essential for plastic-to-paint adhesion.
- Apply 2-3 light coats of primer, allowing 15-30 min between coats.
- Wet-sand primer with 600-grit for a smooth base.
- Apply color-matched base coat in 3-4 thin coats. Thin coats always beat thick — thick coats sag and blister.
- Extend base coat 1-2 inches beyond the repair area to blend the color transition.
- Apply 2-3 coats of clear coat, extending 3-4 inches beyond the color.
- Cure 48-72 hours before wet-sanding.
- Wet-sand clear coat with 2000/3000 grit to level the paint, then polish with cutting compound and polish.
Time Estimate
- Prep: 30-45 min
- Welding: 20-45 min
- Shaping + filler: 45-90 min
- Primer + paint: 2-4 hours active + 24-48 hour cure
- Wet-sand + polish: 30-60 min
- Total active time: 4-8 hours, spread across 2-3 days for proper curing
Common Failures and How to Avoid Them
- Weld cracks during first cold day: Skipped the wire mesh reinforcement. Rework with mesh backing.
- Bumper warped during welding: Too much heat concentrated in one area. Work in short sections, cool between.
- Paint peels after 3-6 months: Skipped adhesion promoter. Must strip and redo primer + paint.
- Weld visible as a bump under paint: Didn’t feather-sand enough. Rework with progressive grits.
- Color match is off: Wrong paint code, or didn’t blend into surrounding paint. Use touch-up pen paint from Dupli-Color by VIN.
- Filler cracks over time: Used steel body filler instead of flexible plastic filler.
When to Replace Instead of Repair
Even with perfect DIY skills, replacement makes more sense when:
- Aftermarket bumper cover is under $200 (many Hondas, Toyotas, Fords)
- Multiple cracks reduce structural integrity
- Sensor housings or ADAS components are damaged
- Vehicle is a lease turn-in (invisible repair often fails lease inspection)
Frequently Asked Questions
Can you fix a cracked bumper with just epoxy?
Epoxy alone bonds surfaces but doesn’t create structural strength. For cracks under 2 inches on non-flex areas, epoxy works. For anything longer or in flex zones, plastic welding is required.
Do I really need a plastic welder?
For a permanent repair, yes. Cheap $50 plastic welding kits work fine for occasional use. If you plan to fix multiple bumpers, invest $150-250 in a real hot-air welder.
How long does the repair last?
Properly welded with mesh reinforcement + good paint: 10+ years. Repairs done without mesh reinforcement often re-crack within 12-24 months in cold weather.
Will my repaired bumper look factory?
With careful paint work and blending, 90-95% invisible from 5 feet. Under close inspection at 12 inches, a slight paint transition line may be visible.