
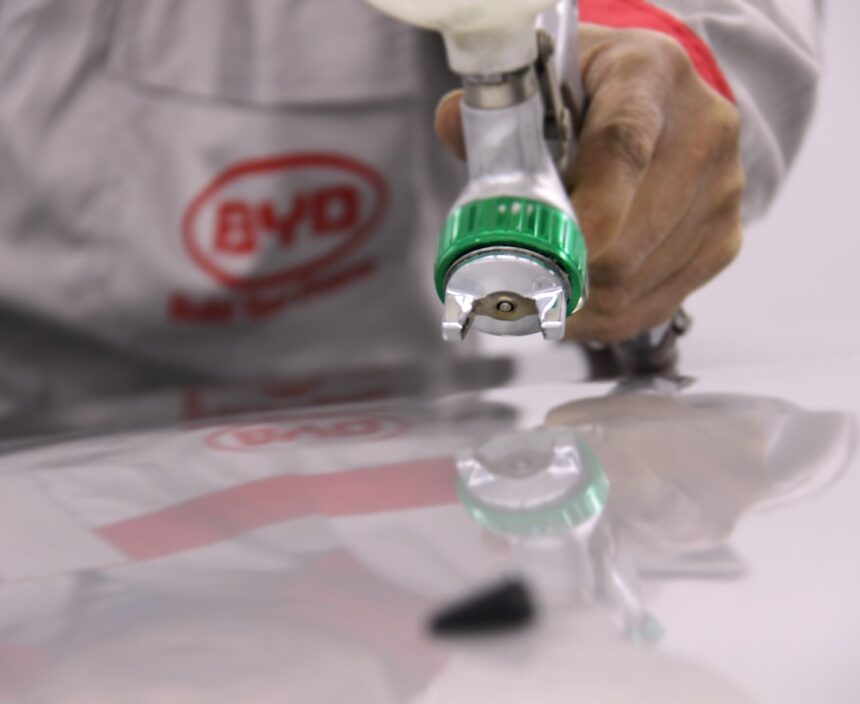
The difference between an obvious paint repair and an invisible one comes down to a single technique: paint blending. Skip it and you’ll see the repair edge from 20 feet away. Do it right and even a body shop tech can’t spot it at 6 inches.
What “Blending” Actually Means
Blending is applying the new color coat progressively thinner as you move away from the repair area, then applying clear coat across a wider area to encapsulate the transition. The final result: no visible edge between old paint and new paint.
Blending is required because paint color is affected by:
- Age — color shifts subtly over 3-5 years due to UV
- Application — the same paint code sprayed by different guns looks different
- Metallic orientation — angle of metallic particles varies per spray pattern
- Clear coat thickness — affects how the color reads
Even with a perfect VIN-matched paint code, a straight spot repair without blending will show as a slightly different shade from the surrounding paint.
Get 3 free quotes from local body shops
We match you with verified shops. Response within 24 hours.
Get my free quotes →When Blending Is Required vs. Optional
Required (always blend)
- Any repair on the middle of a panel (not at an edge)
- Metallic or pearl colors (nearly impossible to match without blending)
- Any repair larger than a golf ball
- Panel adjacent to a large flat surface (hood, roof, trunk, doors)
Optional (can skip if you’re careful)
- Small chip repairs (dime-size or smaller) with touch-up paint
- Repairs at panel edges (natural break point hides the transition)
- Solid colors on older cars where slight color mismatch reads as “faded”
Materials & Tools
- Color-matched base coat (VIN-matched) — $10-25
- Automotive clear coat (matching your existing paint’s clear type) — $25-45
- Blending solvent (softens paint edge) — $15-30
- HVLP spray gun (or good-quality rattle can) — $60-180
- Wet sanding kit (1500/2000/3000 grit) — $15-25
- Cutting compound — $15-22
- Finishing polish — $15-22
- 3M automotive masking tape + paper — $15-25
- Wax & grease remover — $15-30
- Tack cloth pack — $10-20
- Painting respirator — $40-90
The Blend Process — Step by Step
Phase 1: Prep the Repair Area (30-60 min)
- Complete all body work (dent removal, filler, primer) up to the base coat stage.
- Feather-sand the primer edge outward for 2-3 inches with 320-grit.
- Wet-sand the SURROUNDING paint (existing paint you’re blending into) with 1500-grit for 6-12 inches beyond the repair area. This “opens up” the clear coat so new base coat can bond, and gives the blend zone.
- Clean with wax & grease remover. Wipe with tack cloth.
Phase 2: Mask the Blend Zone (15-30 min)
Blending requires a graduated masking approach — sharp edges are what you want to AVOID.
- Mask the OUTER perimeter of your blend zone with tape.
- Cover panels beyond the blend zone with paper + tape.
- Optional pro technique: use a “reverse” or “back” masking approach where tape is applied sticky-side-out. This creates a soft edge as spray fades over the tape.
Phase 3: Spray Base Coat (30-45 min)
This is where blending happens:
- Load base coat into your HVLP gun or shake rattle can.
- Start with a light “dust coat” over the repair area to establish coverage.
- Apply your first full color coat, but only over the sanded primer + first 2 inches of the surrounding paint.
- Second color coat: extend 4-6 inches into the surrounding paint, but with progressively lighter pressure.
- Third color coat: extend 8-12 inches into the surrounding paint, very light.
- The result is a color coat that’s opaque over the repair, fully faded to nothing at 12 inches out.
Phase 4: Apply Blending Solvent (10-15 min)
Blending solvent is the pro secret. It softens the outermost edge of your new base coat so it merges chemically with the existing paint:
- Wait 5-10 minutes after last color coat.
- Apply blending solvent from the same distance you sprayed base coat.
- Focus on the outer 6-inch fade zone.
- The solvent temporarily makes the paint appear wet — that’s it working.
Phase 5: Clear Coat Application (30-45 min + cure)
Clear coat is where you make the blend permanent:
- Apply first clear coat over the entire color zone AND 6-12 inches beyond.
- Second clear coat: extend even further — you’re building a continuous clear coat over both new and old paint.
- Third clear coat: another wider zone.
- The clear coat’s outer edge should be somewhere no one will ever look — like at a body line, hood edge, or under a molding.
Phase 6: Cure (48-72 hours minimum)
Do not touch, sand, or polish the clear coat until fully cured. Cold weather: allow 5-7 days.
Phase 7: Wet Sand the Clear Coat Edge (30-60 min)
Even after clear coat, you’ll see a slight edge where new clear meets old clear. Wet sanding removes it:
- Wet-sand the clear coat transition with 1500-grit, then 2000, then 3000.
- Use a hard block for flat areas, soft for curves.
- Focus on the edge — you want to feather the transition until you can’t feel any ridge.
Phase 8: Machine Polish (30-60 min)
Restore gloss:
- Cut with Meguiar’s Ultimate Compound using DA polisher at speed 4-5.
- Polish with Ultimate Polish at speed 3-4.
- Extend polishing across the entire blend zone.
- Inspect under strong light — the blend should be invisible.
Metallic and Pearl Paint — The Harder Case
Why they’re harder
Metallic and pearl colors reflect light based on the orientation of the metallic flakes or pearl particles. Even a perfect color match reads differently if the flakes are oriented differently. Blending is mandatory, not optional.
Special techniques
- Apply metallic mid coats VERY light — heavy coats bunch the flakes and change the color
- Use a “half-strength” reduction on your last color coat (thin the paint 50%) — flows out flatter and matches better
- Allow more flash time between coats (metallic flakes settle)
- Consider blending across two panels rather than trying to invisibly blend in the middle of one
Common Blending Failures
Halo effect (color ring around repair)
Cause: base coat was applied over an area not opened up by wet sanding. Fix: sand 1500-grit further out, respray.
Color shift visible at certain angles
Cause: metallic orientation mismatch. Fix: usually requires respray with more careful metallic mid-coat technique.
Clear coat lift at the edge
Cause: contamination on the surrounding paint (wax, silicone). Fix: strip, reprep with wax & grease remover, respray.
Blending line visible after polish
Cause: clear coat transition wasn’t extended far enough, or wasn’t wet-sanded before polish. Fix: rewet-sand and re-polish the transition area.
“Tiger stripes” or “zebra” pattern
Cause: inconsistent spray pattern or gun overlap. Fix: strip base coat, respray with 50% overlap and consistent gun speed.
Time Estimates
- Small chip repair with blending: 4-6 hours active + 48-72 hour cure
- Panel-wide scratch repair: 6-8 hours + cure
- Half-panel repair: 8-12 hours + cure
- Full panel repaint with blending into adjacent panels: 12-20 hours + cure
When to Give Up and Call a Body Shop
- You’ve tried 2-3 times and can still see the repair edge
- You’re working on a pearl or tri-coat paint (professional booths required)
- You’re working on a lease vehicle (invisible-quality is required for turn-in)
- The repair spans multiple panels (professional blend across multiple panels is hard for DIY)
Frequently Asked Questions
Do I really need blending solvent?
For solid colors, you can get away without it (though the result is slightly worse). For metallic and pearl, blending solvent is essentially required.
Can I blend with rattle-can paint?
Yes but harder. Rattle cans have less control over spray pattern and pressure. Use spray-can extension triggers to steady your hand. Expect 1-2 test blends on scrap material first.
How long before I can wash the car?
Wait 30 days minimum after clear coat application before any car wash. Full paint cure (max hardness) takes 60-90 days.
Will the blend show over time?
If done correctly, no. If clear coat wasn’t extended far enough or wet-sanding was skipped, a visible edge often appears within 6-12 months as environmental exposure highlights the transition.